The Walkthrough M. Biarinec | translated by: Potvora & Alix | 20.08.2010
1. Clean and Serene
Reward: + 750$
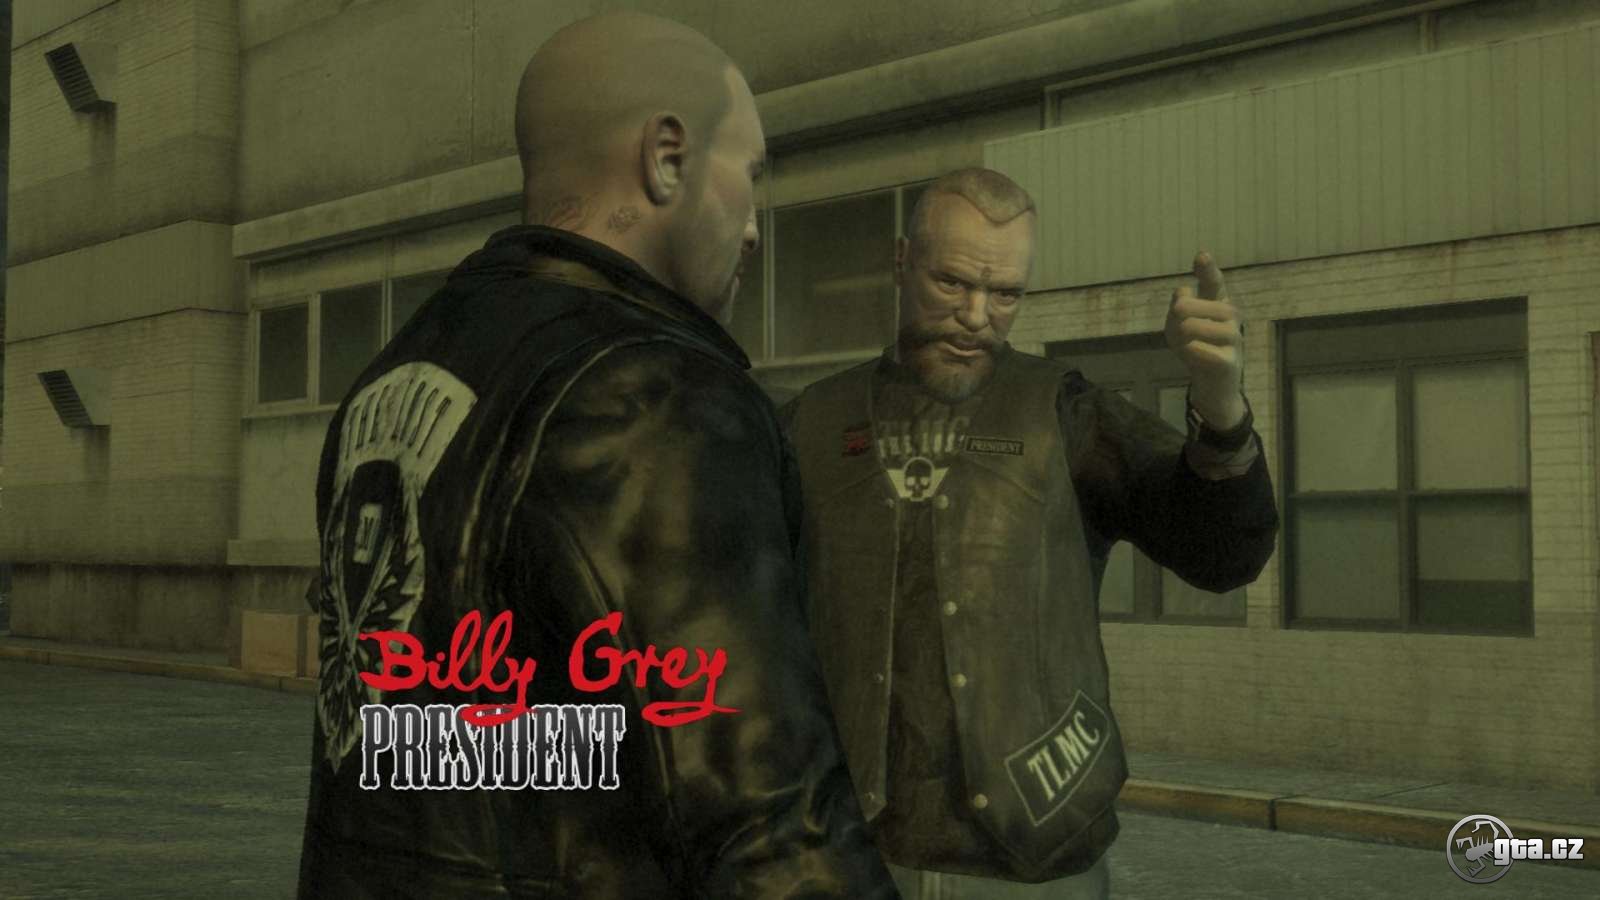
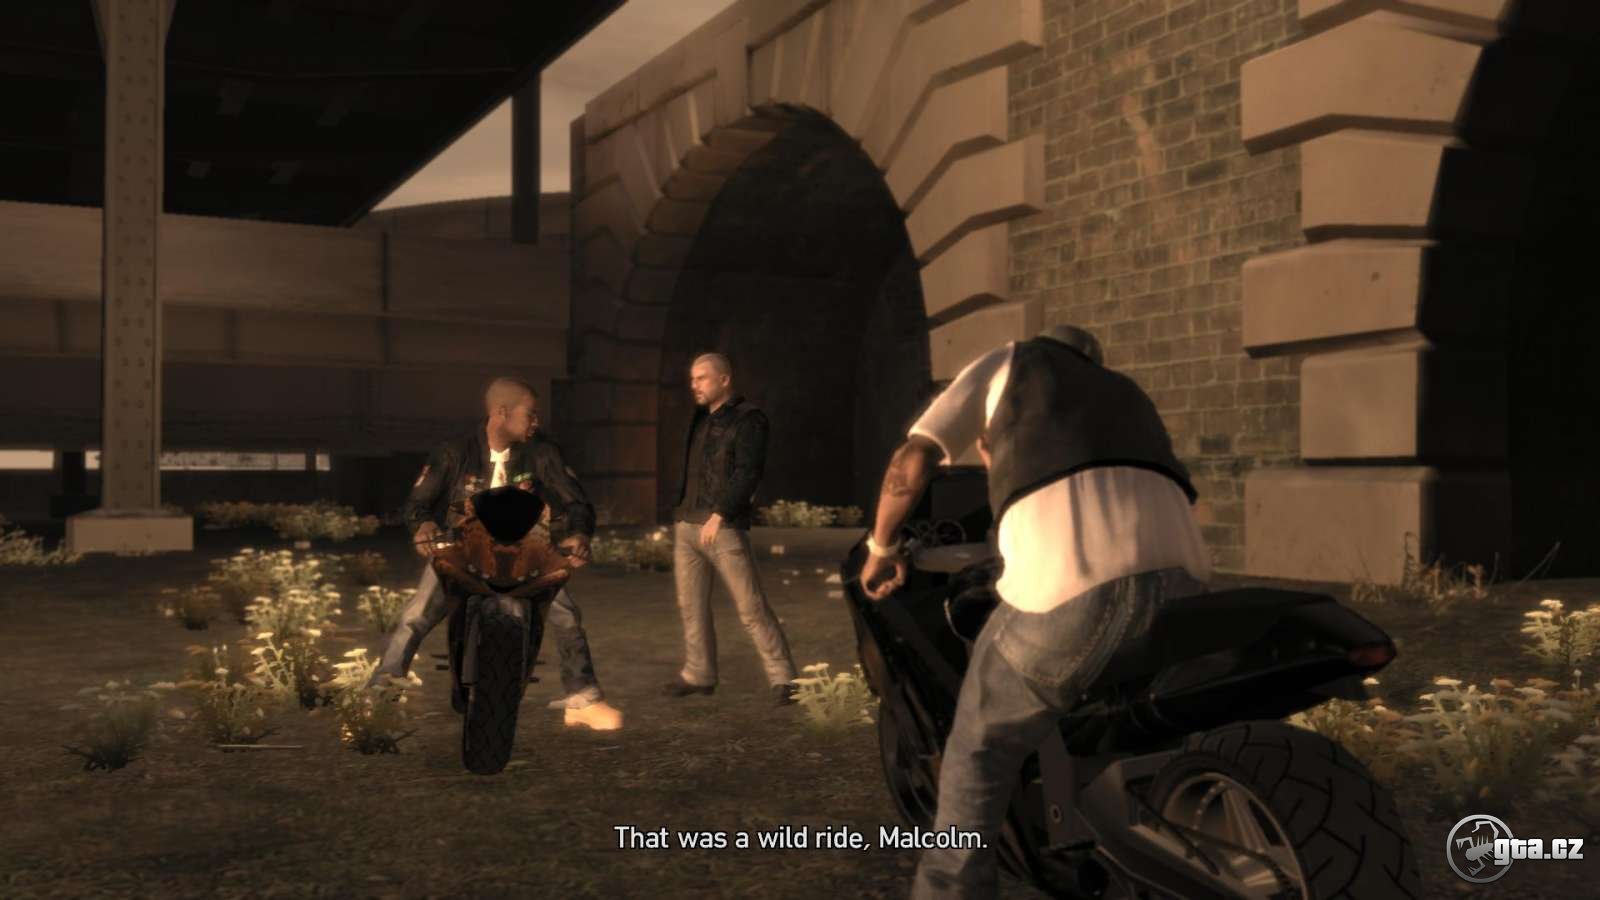
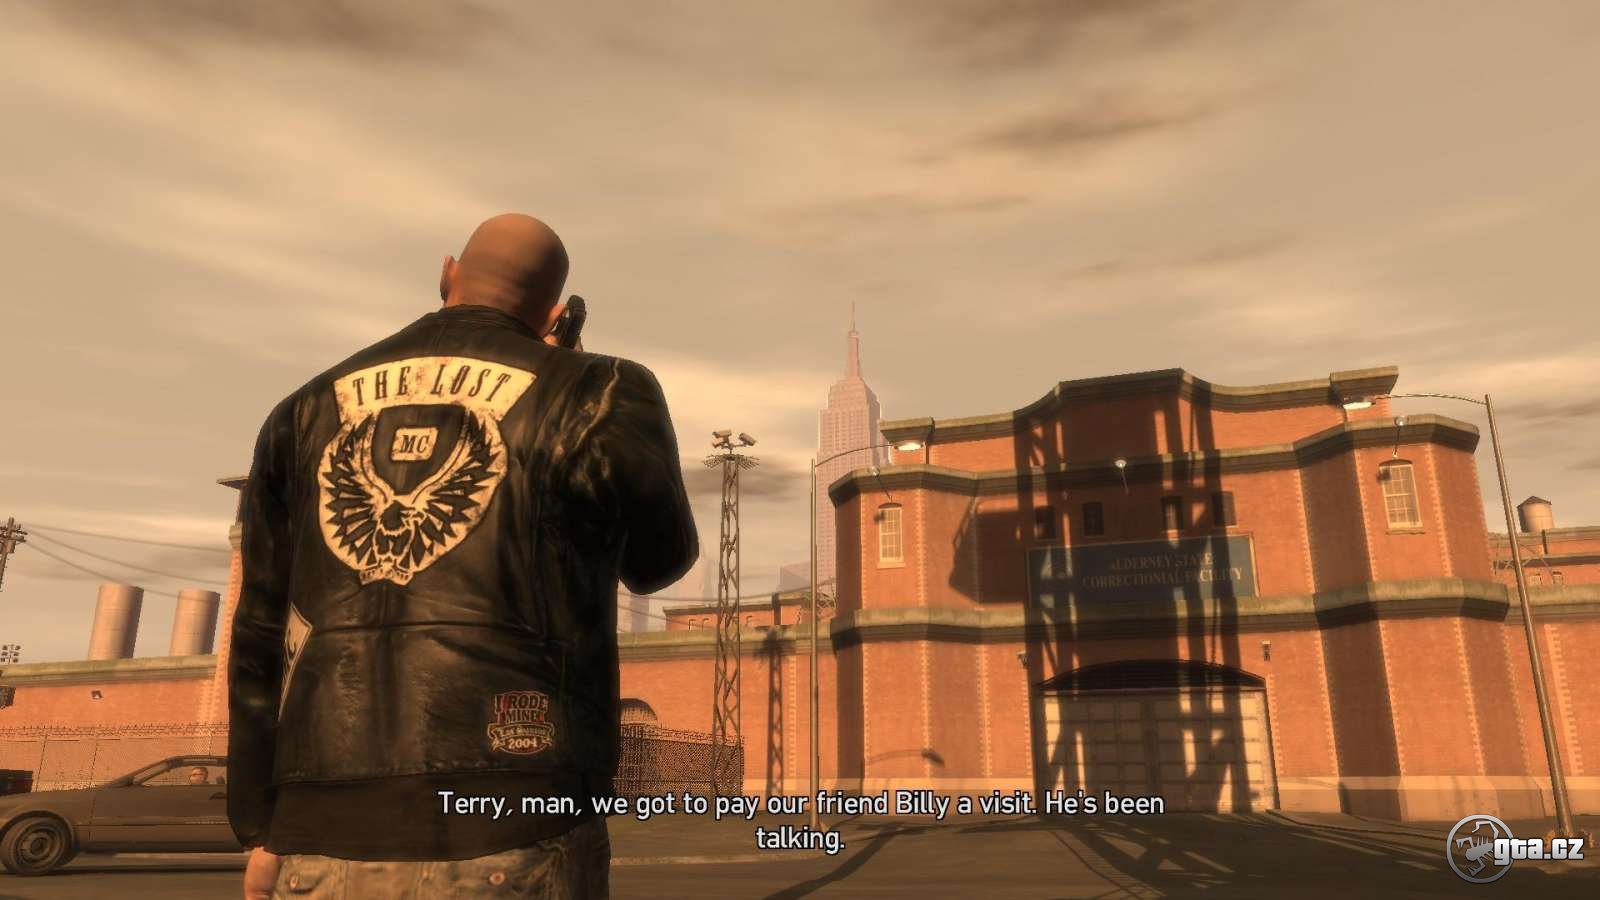
Impressive cutscene brings you straight into the middle of the game. The end of the cutscene depicts Billy Grey, The Lost club president, returning back to his gang from the penitentiary. Your character – Johnny Klebitz – has been standing in for him during his absence.
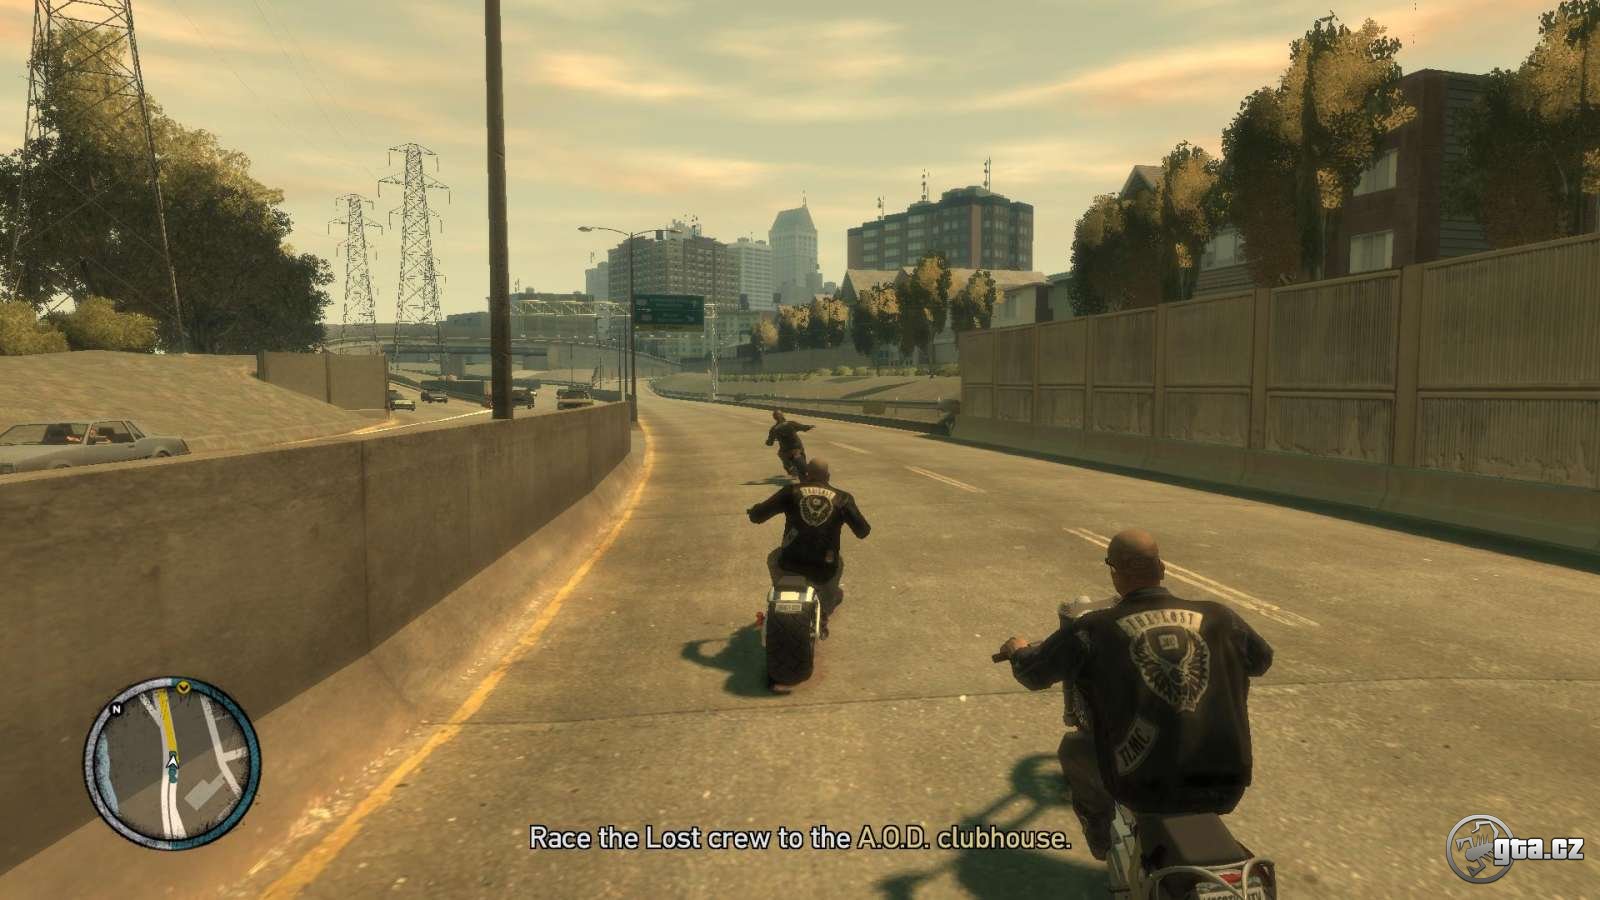
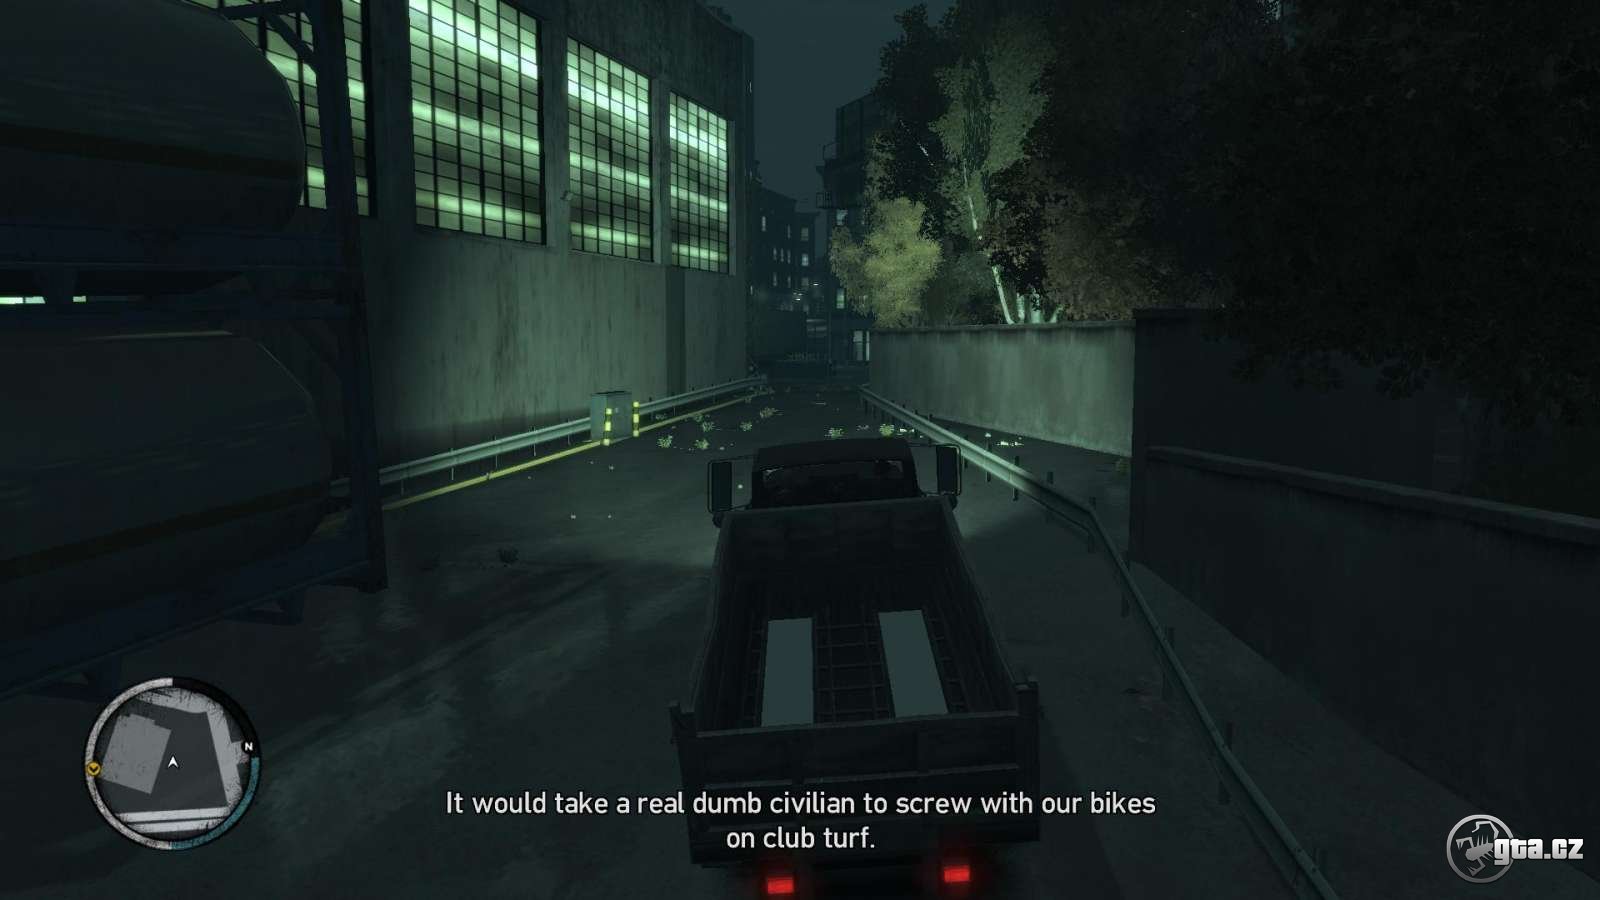
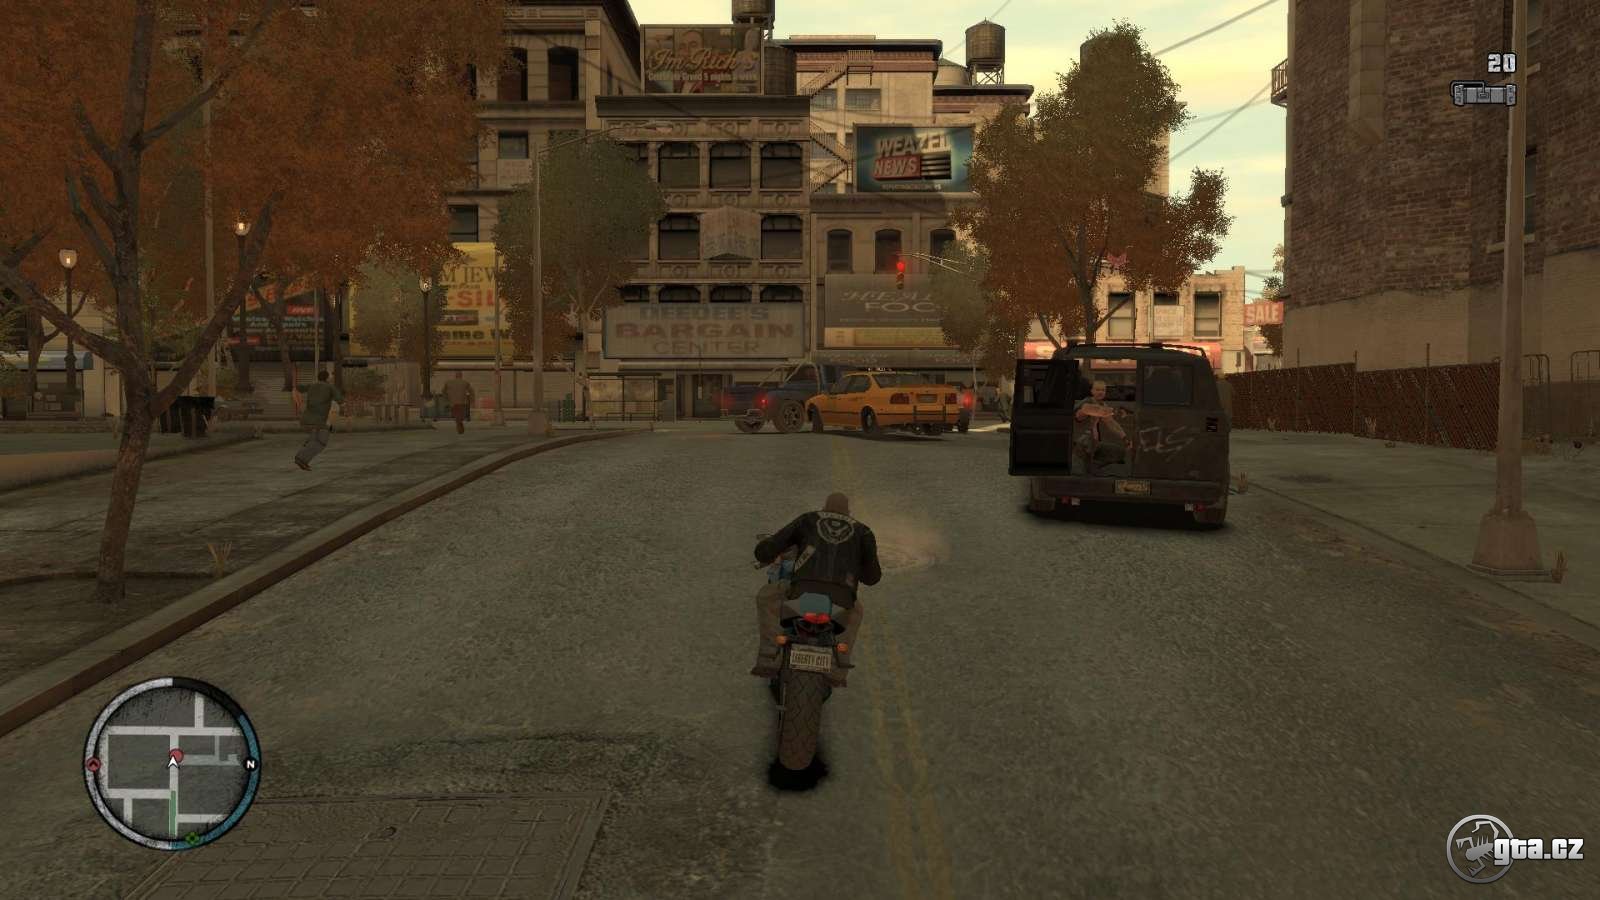
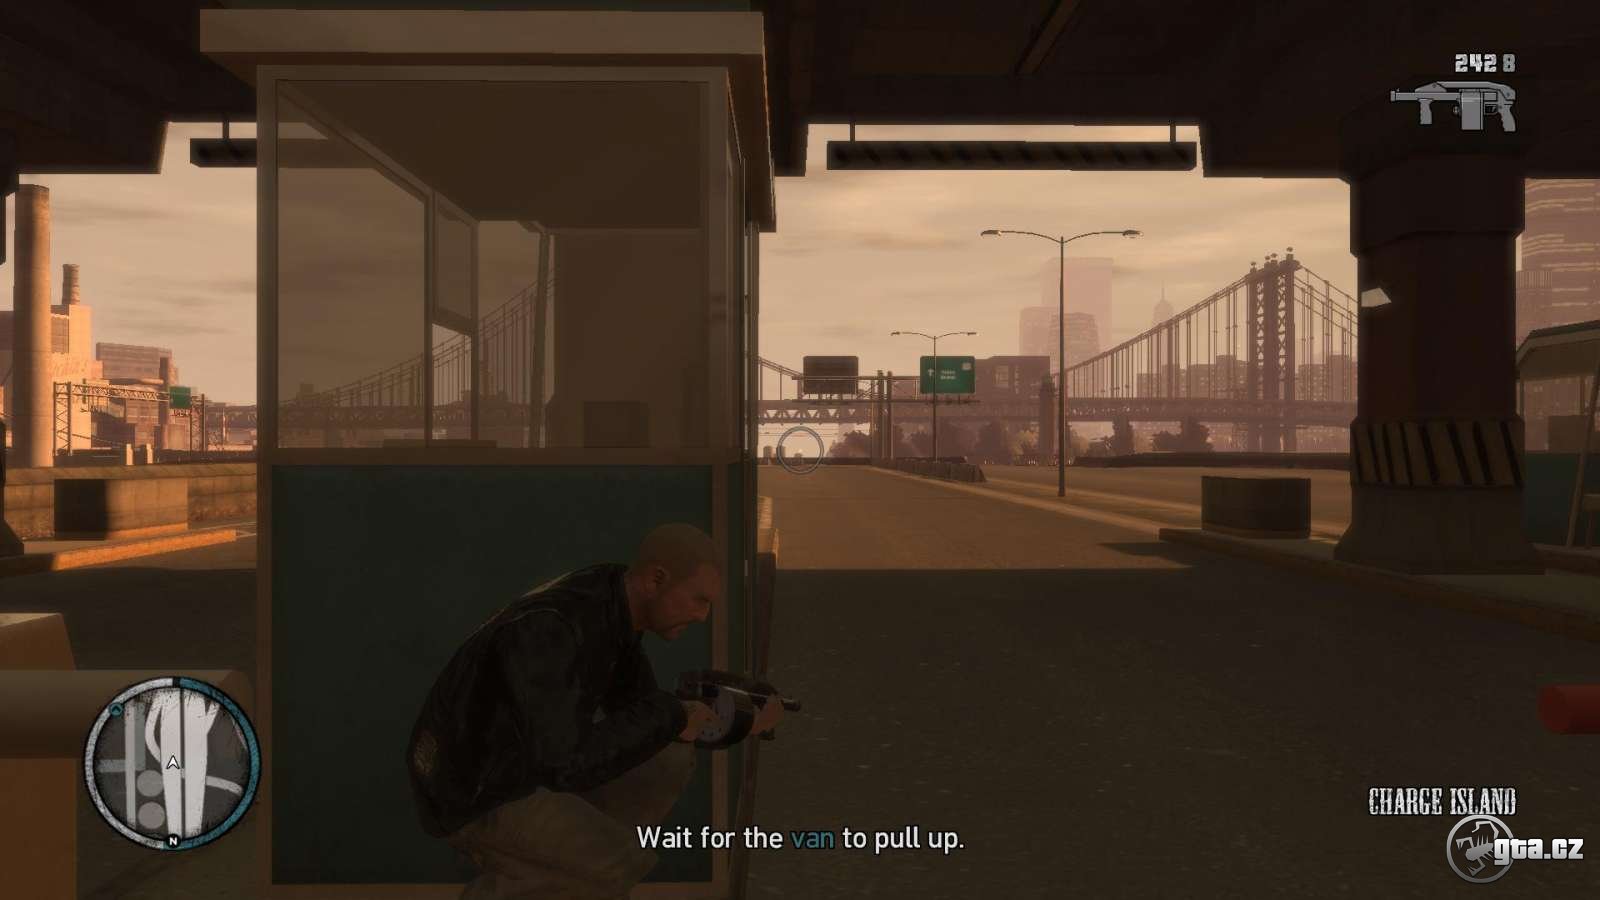
The first task sounds quite simple. Grab the other gang members and drive Billy to your Clubhouse. Wait for another sequence to end and hit the road to get Billy’s bike. Head to Bohan. Another cutscene starts, revealing the bike is in the possession of the Angels of Death – another LC gang. Drive to Northwood.
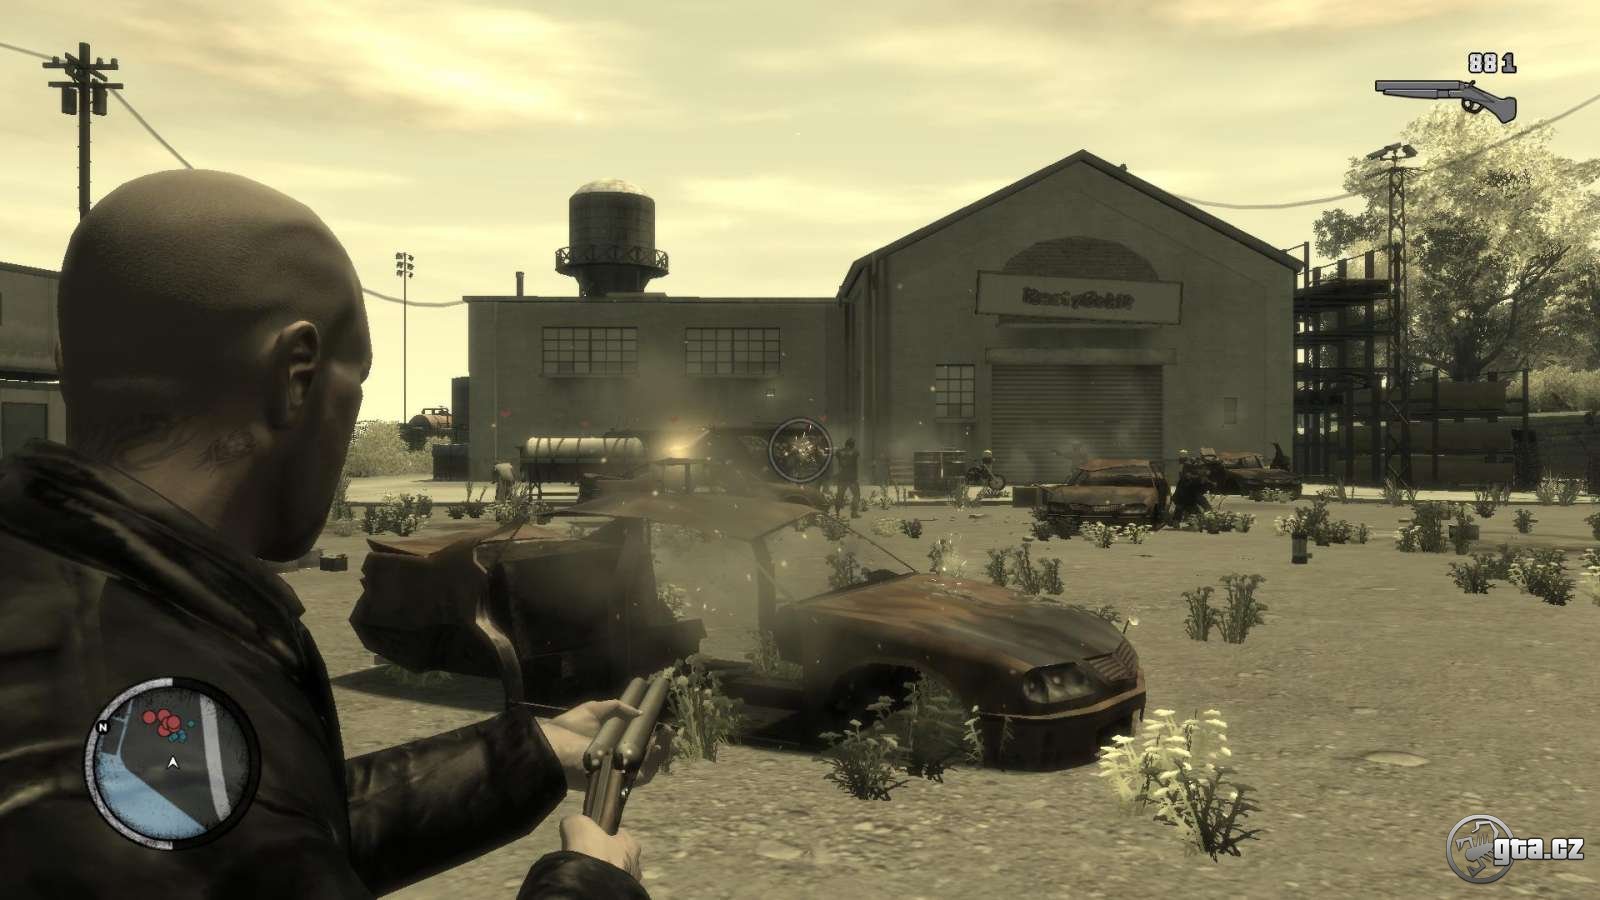
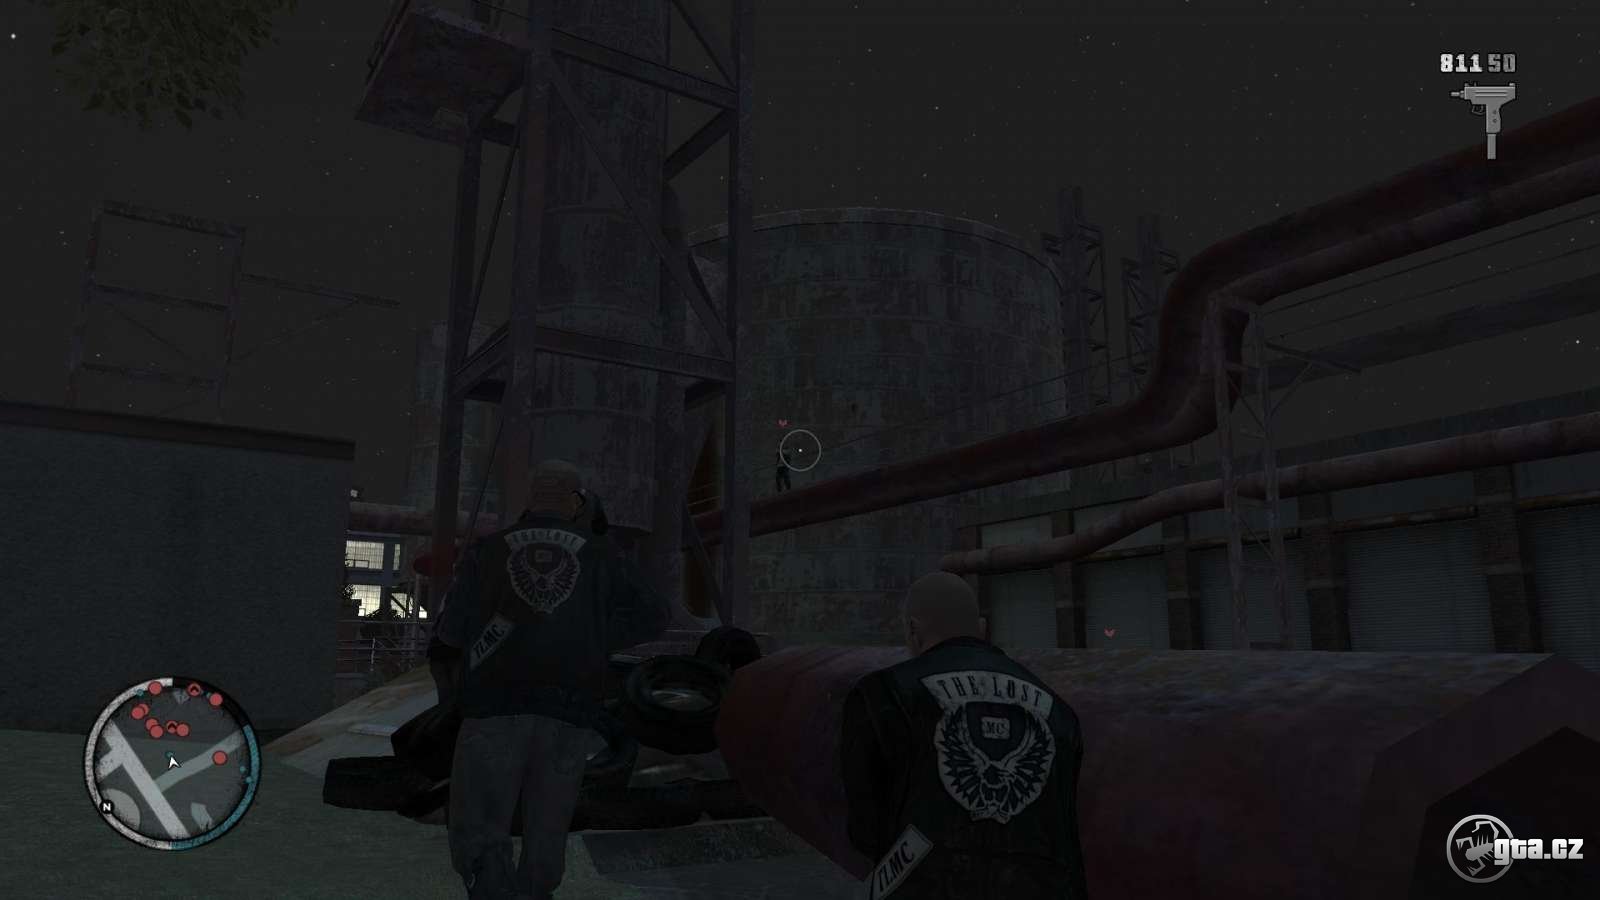
When arriving at that place, shoot all nine Angels of Death and you’re almost done.
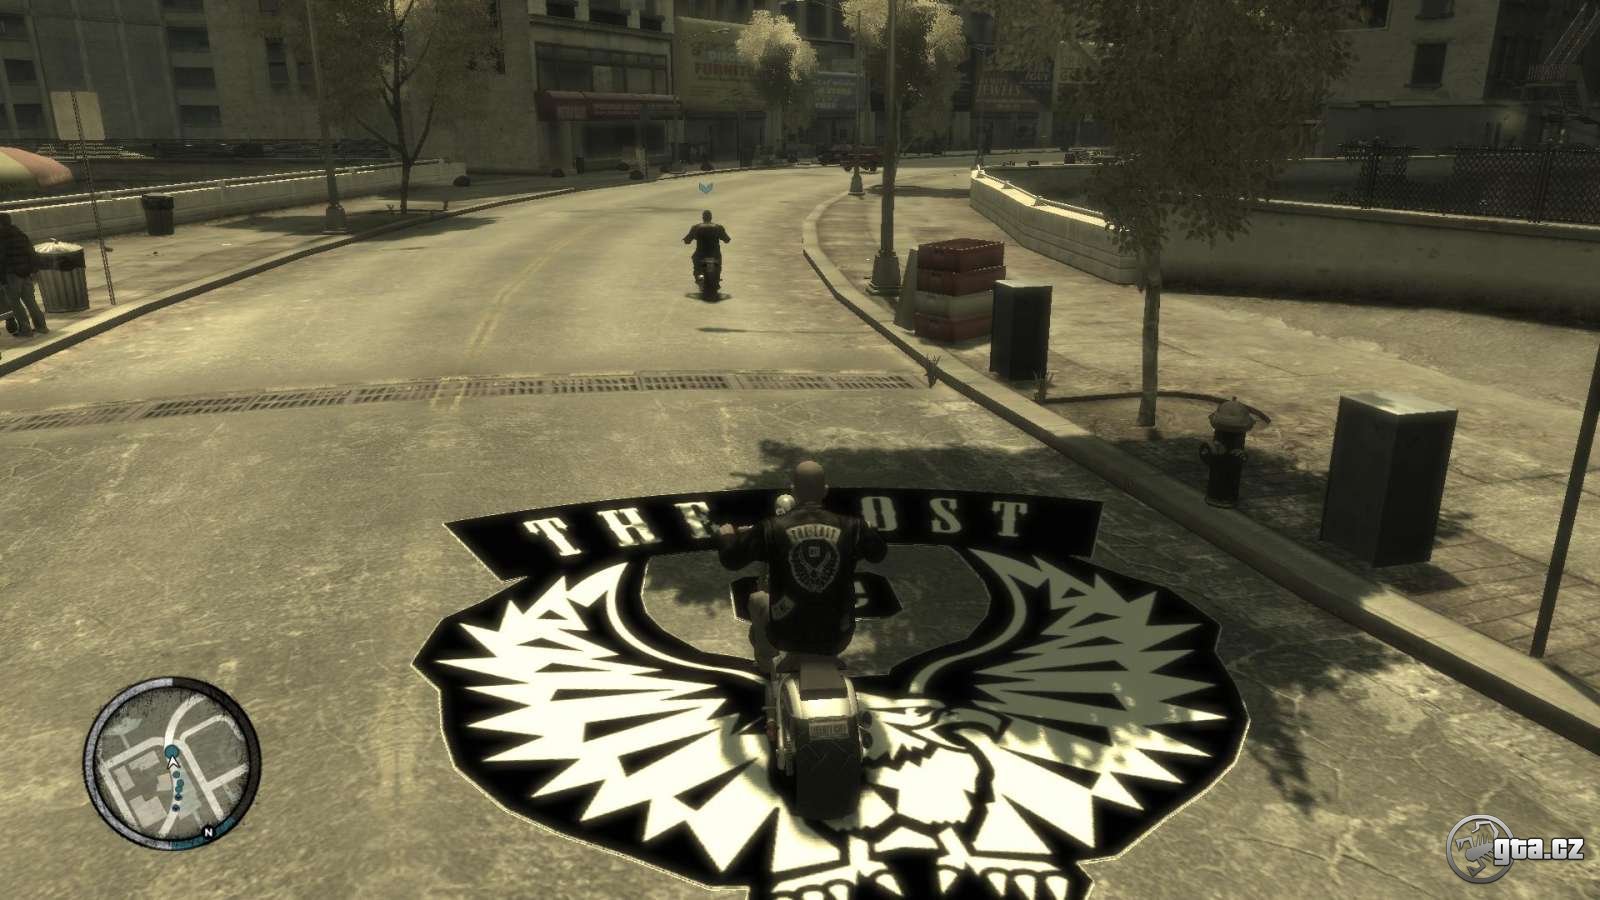
Get on the bike and follow your gang to the clubhouse. You might see the club logo on the road (try to keep the formation as depicted in the introductory cutscene). If you maintain your position on top of it for some time, your health level increases and bike damage decreases. After returning back to your club, you’ll get acquainted with the house and its features – playing the cards, shooting the pool, arm wrestling, watching the TV, using the PC and last, but not least, the bed for saving the game position.
You’ll receive a phone call from Jim, who’s depicted as J on a map and offers you a chance to play his missions.
2.Angels in America
Reward: + 750$
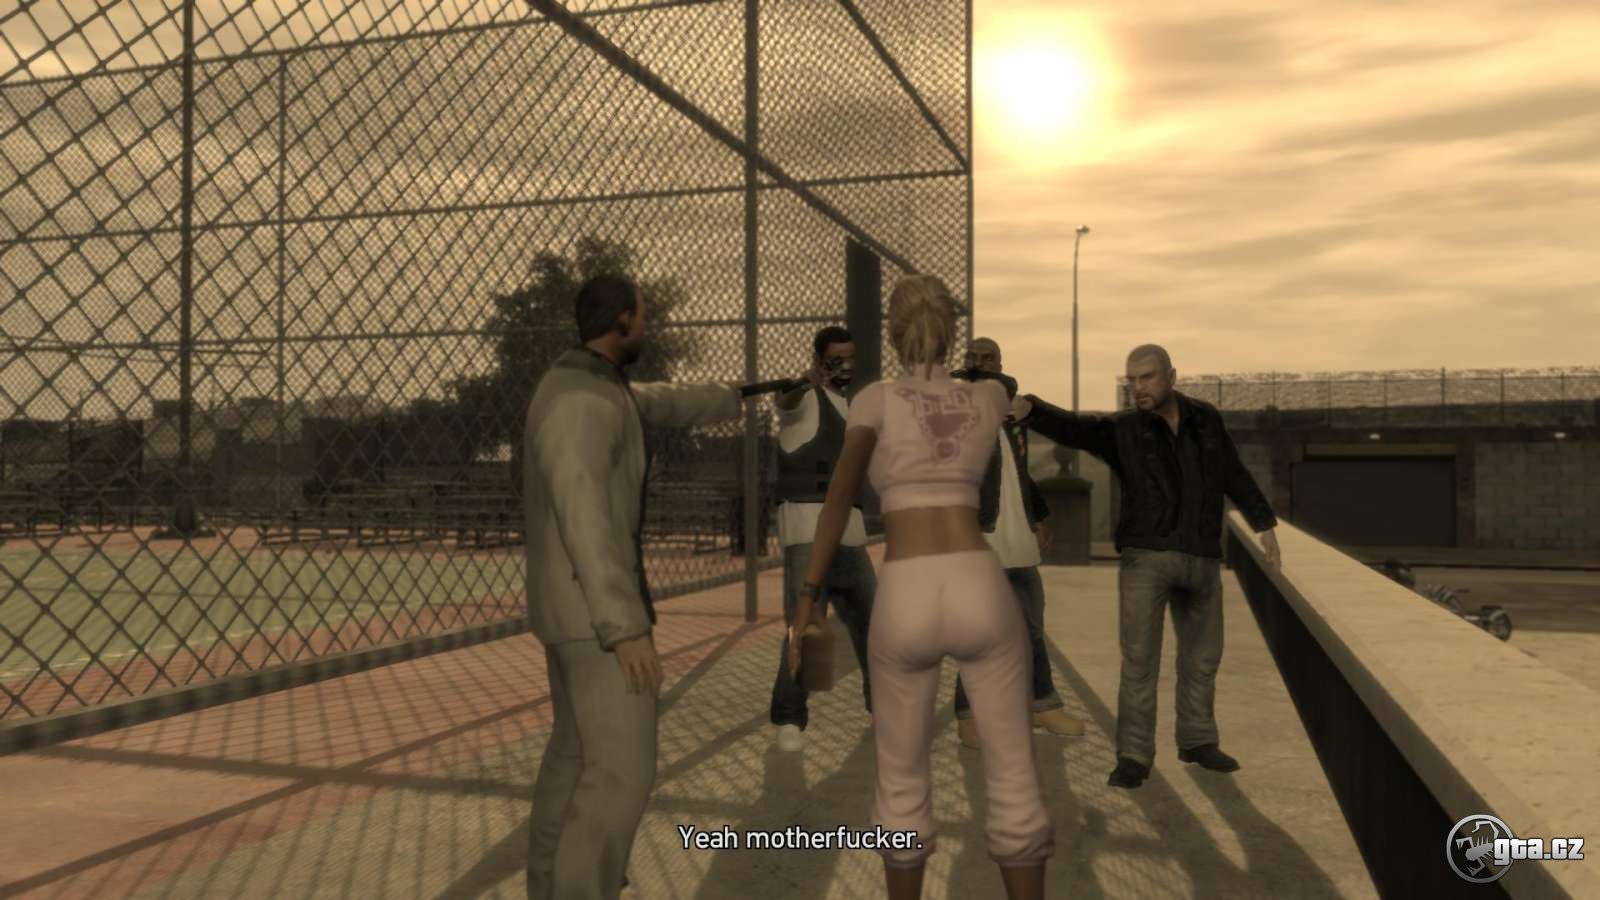
Cutscene starting this mission pictures the celebration held after Billy’s return. The quarrel begins once Johnny returns, but Jason interrupts it, warning everyone that there are Angels of Death gathering outside. They seem pretty mad at Billy, who broke the fragile truce between both gangs, and call for the explanation. A raised middle finger brings an abrupt end to any negotiation efforts on both sides and Billy kills one of the rival gang members.


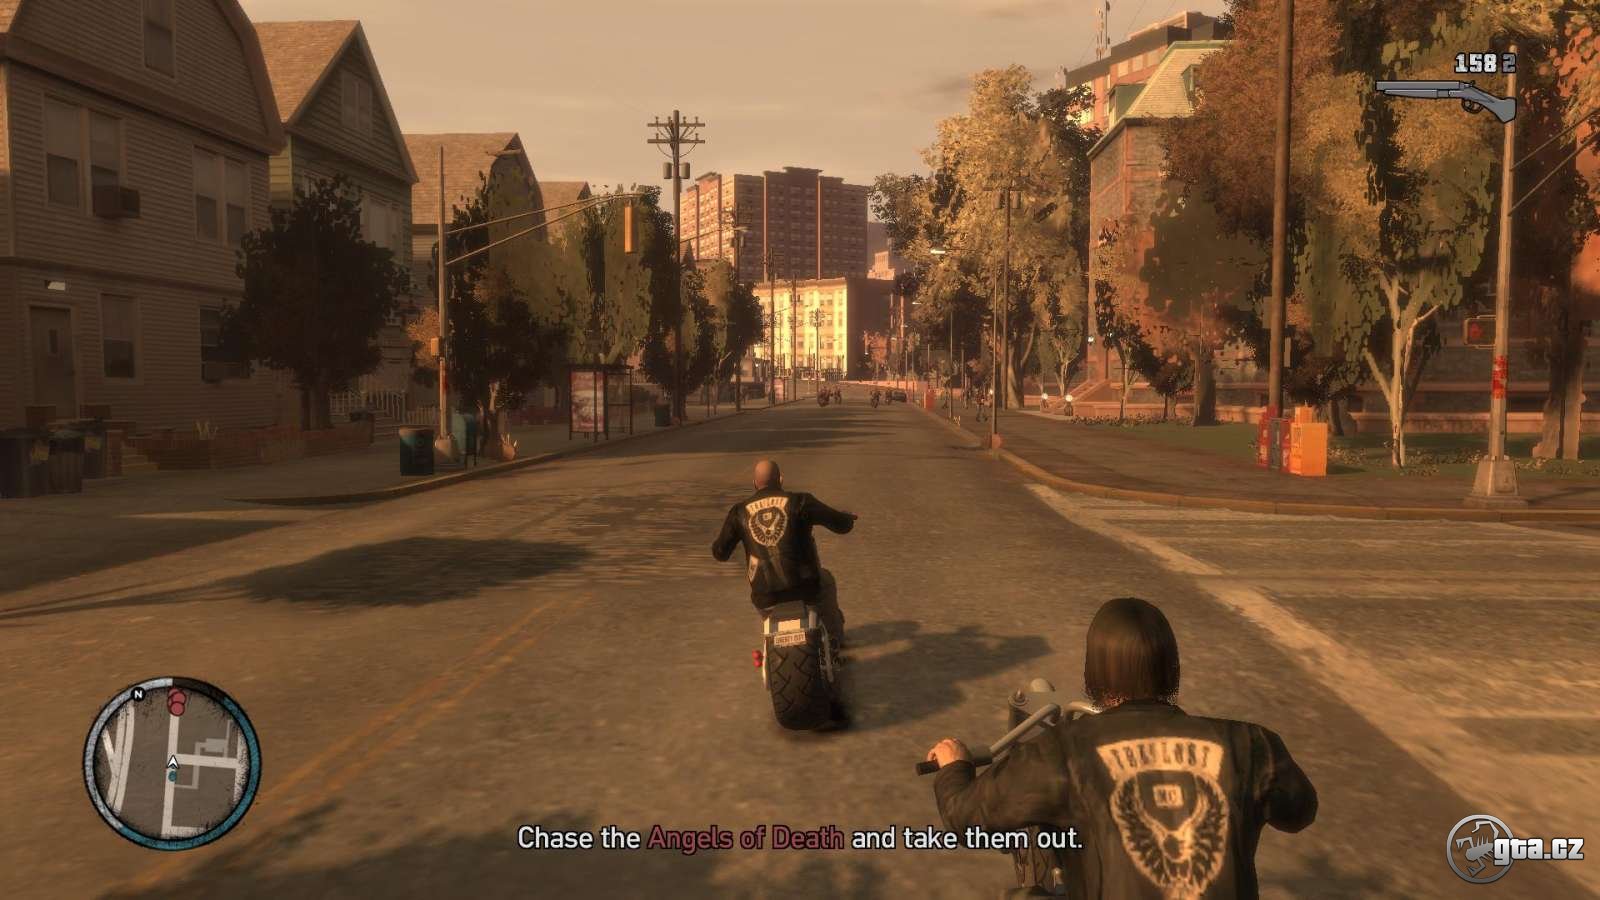
The mission begins. Your task is to kill the evading Angels of Death gang members. Once you get this task done, Billy calls you to meet him. Billy invites Jason to a drink, but he’s leaving to Broker to meet his girl instead (could that be a GTA IV mission involving a biker bothering Mikhail Faustin’s daughter?). The mission ends along with a cutscene.
You’ll receive a phone call from Jim, who’s depicted as J on a map and offers you a chance to play his missions.
3.It´s War
Reward: + 750$
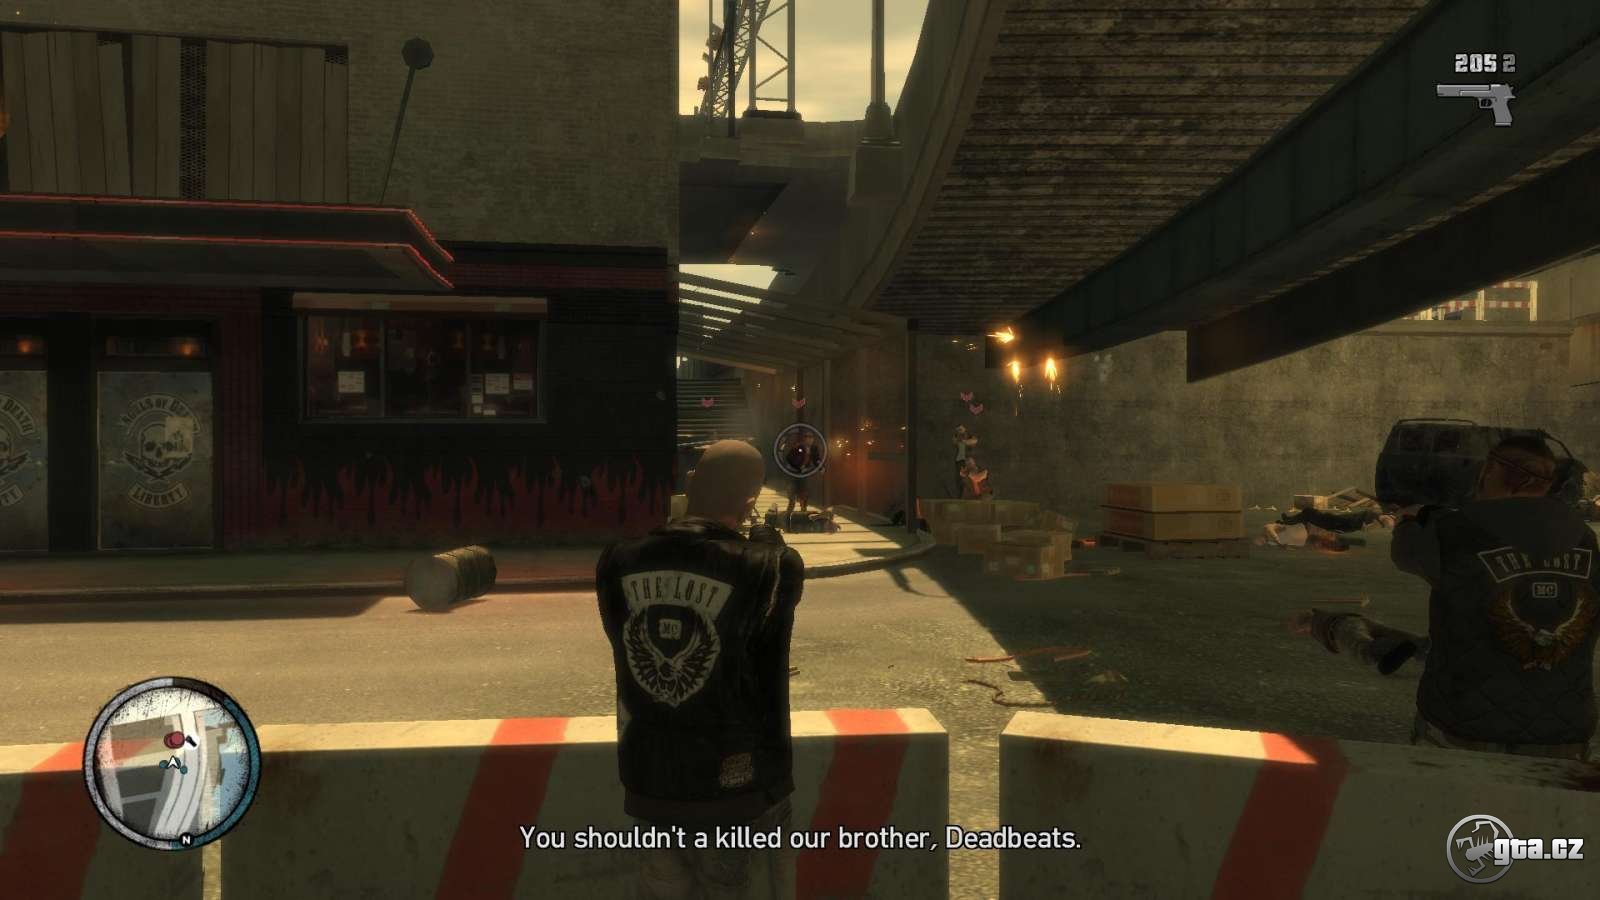
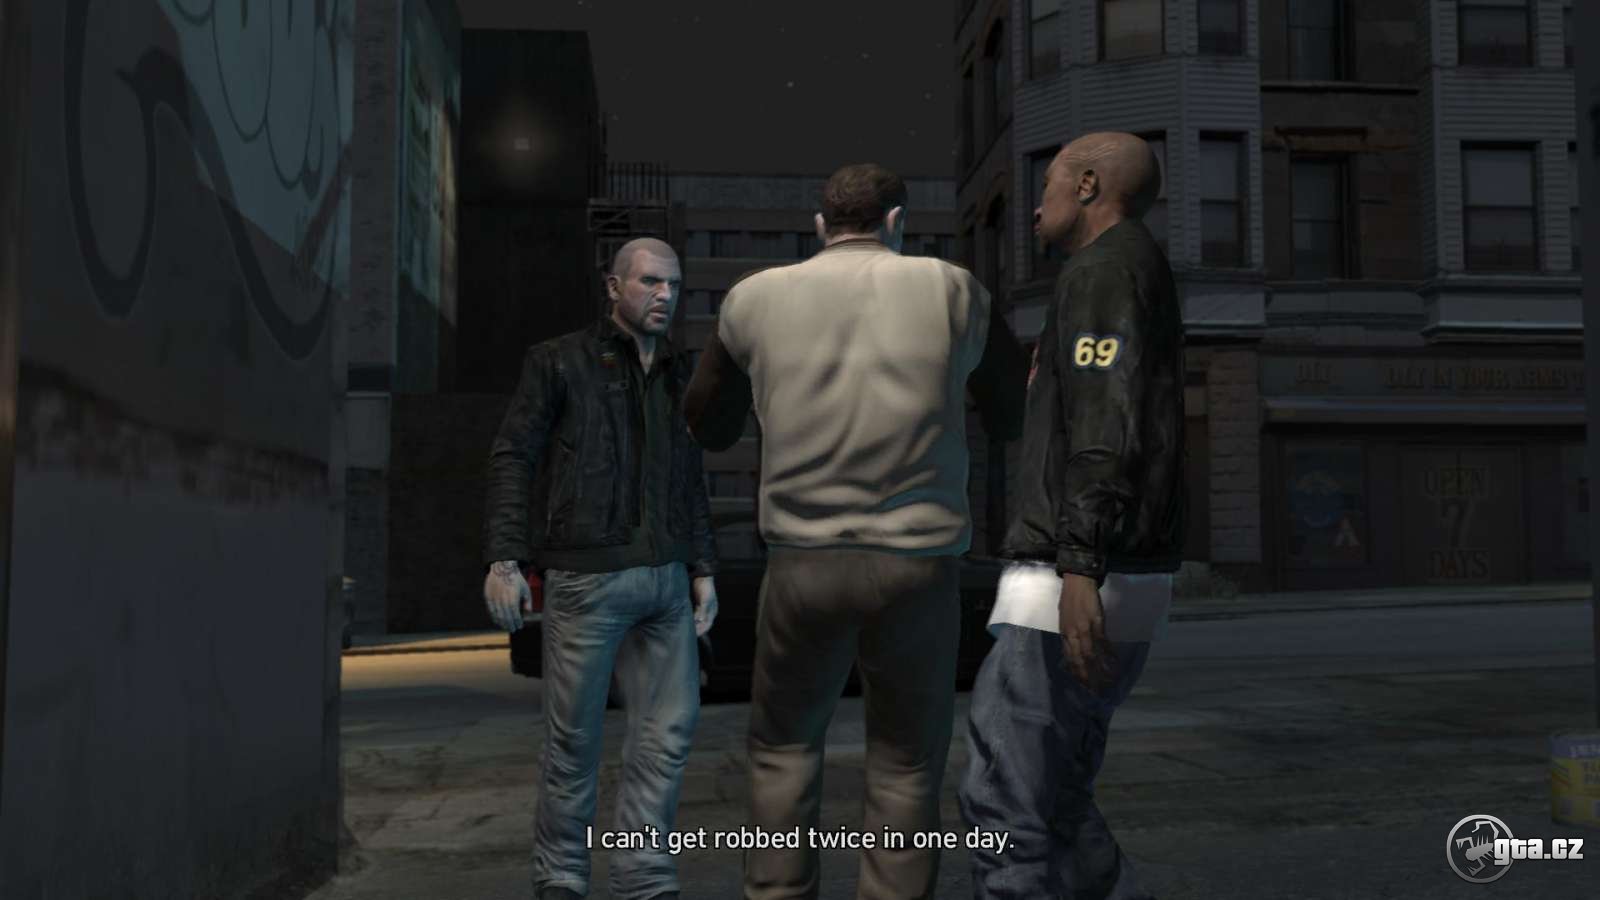
You’ll meet a new bloke called Dave Grossman, supposedly a lawyer. Johnny doesn’t seem to be happy about him becoming a gang member (Johnny doesn’t like Billy’s behavior in general). You’re hitting the road as soon as Billy receives a text message. Follow him and try to keep formation. Once arriving at your destination, you’ll face plenty of Angels of Death gang members. Cover and kill – boy, that’s the deal. You can efficiently dispose of the enemies at the far end using the explosive barrels and tanks.

Once you kill all of your enemies, collect their weapons and ammunition, which are likely to be quite handy soon. Hop on your bike then and proceed to another destination, where – hey, you know the drill. Once finished, you’ll see a video of Billy announcing you, that Jason’s been killed somewhere in Broker (GTA IV mission – No Love Frost) by some Pole/Russian or Serbian. Mission ends afterwards.
4. Action/Reaction
Reward: + 1000$
Ray Boccino, who’s presented in a video, is well-known by those who played GTA IV. Once again you’re going out. Try to keep in front as there’s gonna be a race on a highway and you might be willing to win, don’t you?
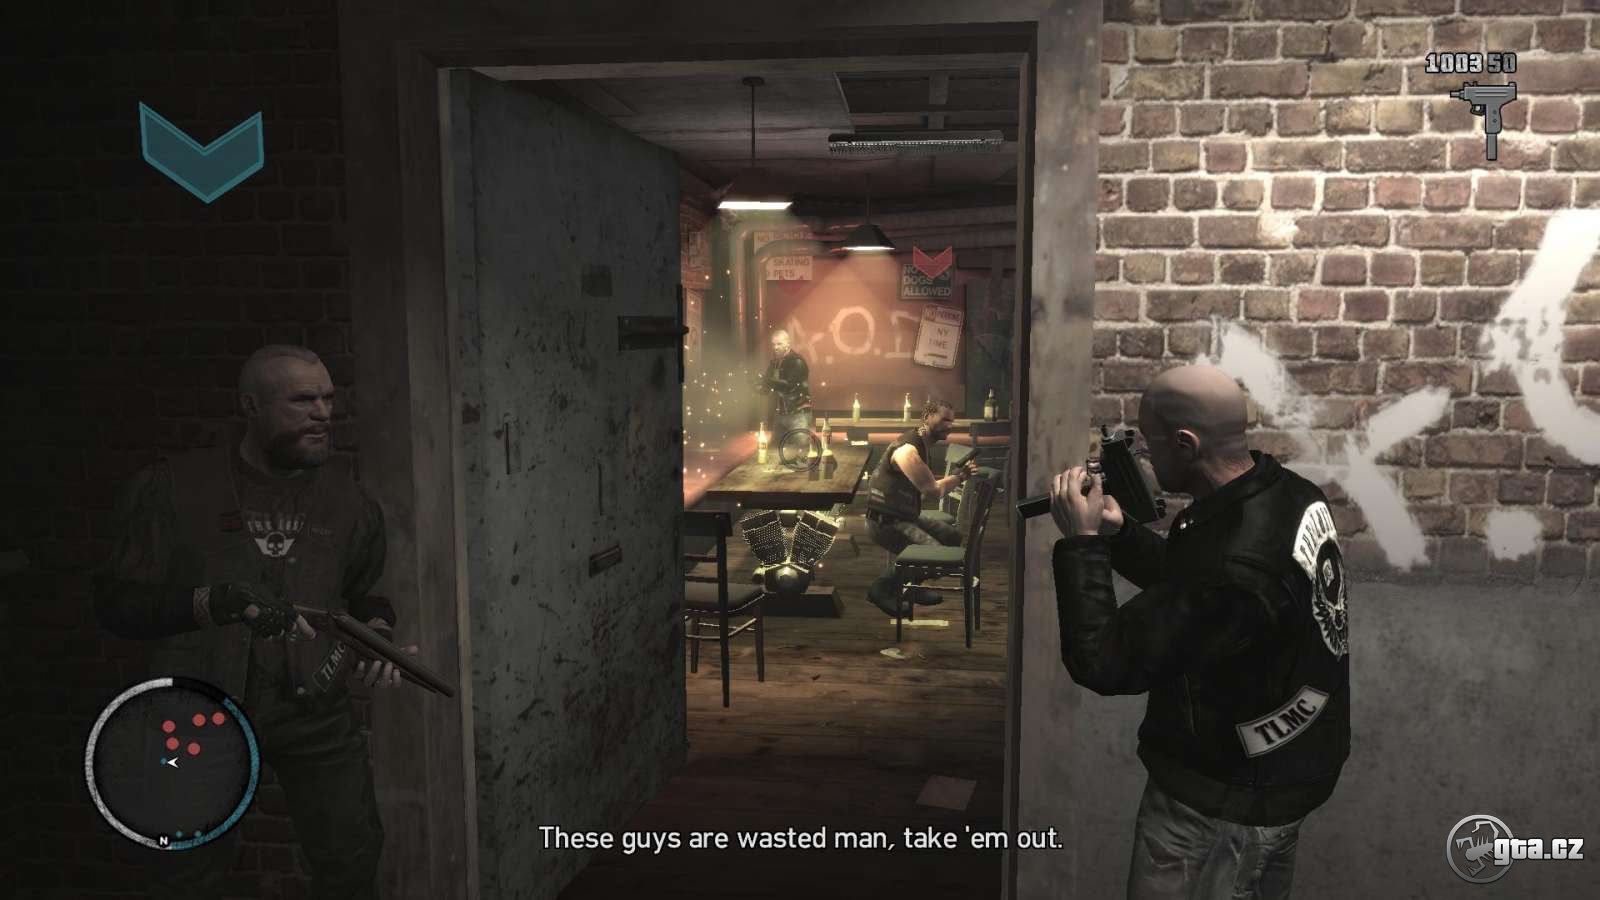
You’ll be given a new toy at the Angels of Death clubhouse – the grenade launcher. Suddenly Billy talks you into attacking the rival gang, who are supposedly responsible for Jason’s death (which isn’t true). Shoot in the window and the gunfire begins. Be prepared for a couple of enemies arriving once all of your enemies at the clubhouse are dead. Good cover should make it easy for you to get rid of them quickly. Follow Billy into the burning house and make sure you kill all enemies. The cutscene starts and reveals Billy’s true intention – two bags stuffed with heroin. Leave the place and the mission is over.
You’ll receive a text message from Billy who wants you to meet Elisabeth Torres.
5. Liberty City Choppers
Reward: + 1000$
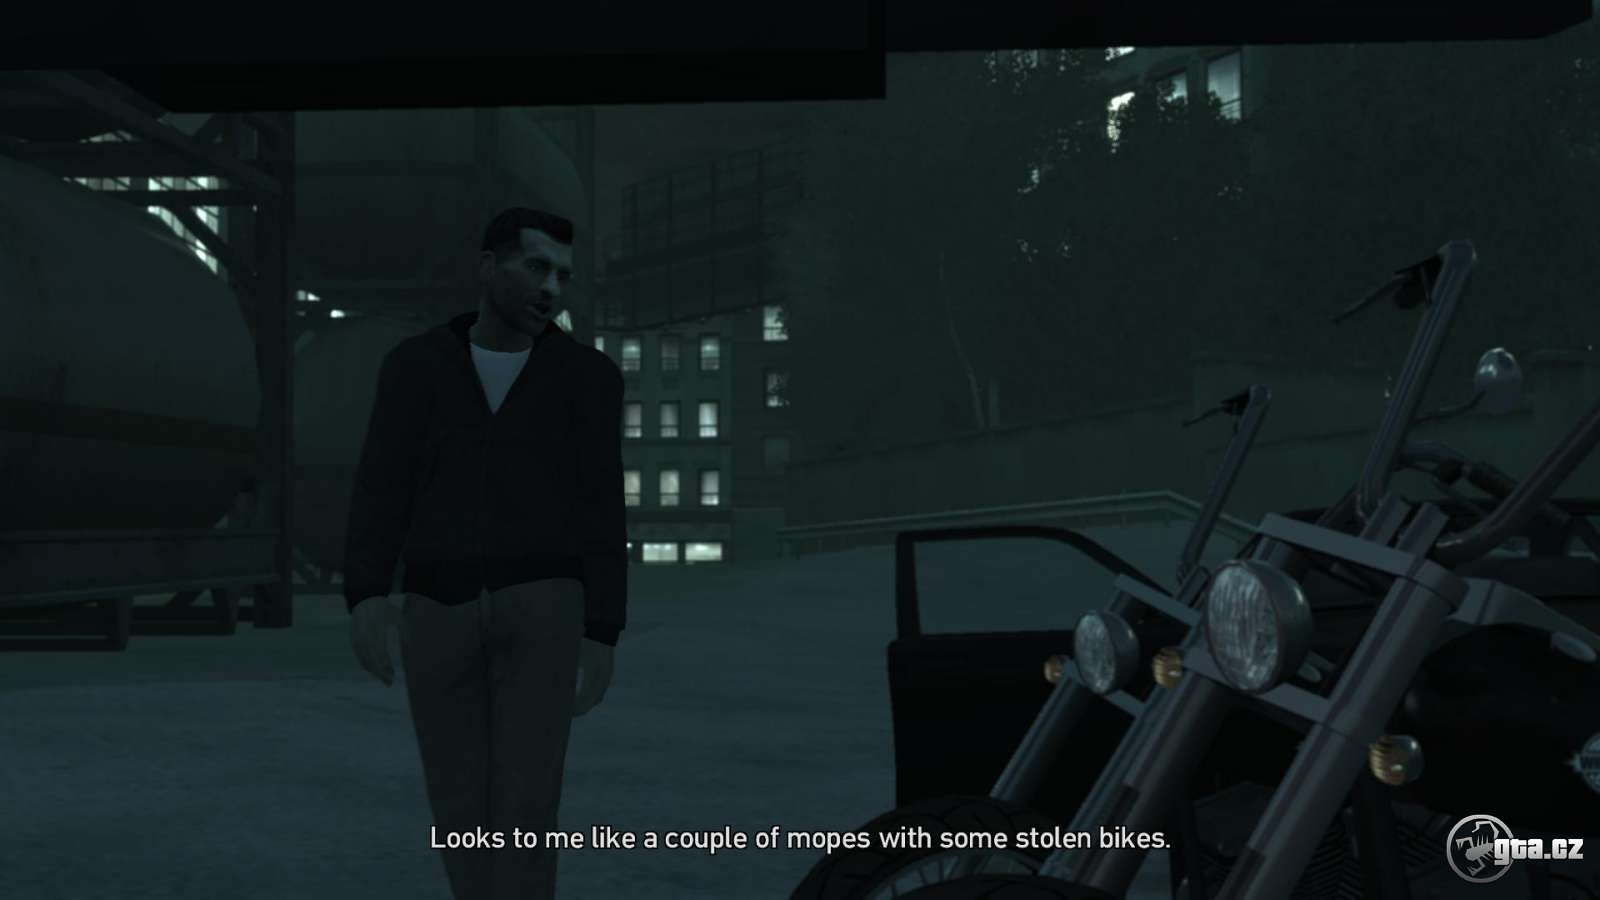
Jim is about to steal couple of Angels of Death bikes. Follow Jim to the dockyards, where you get a truck. Drive it to the restaurant marked on the map. Once you park it, you’ll see five bikes to be stolen – four of them will make it as well, though.
When you drive them into the truck, the first part of the mission is over. That would be too easy, wouldn’t it? Sure! There’ll be a couple of rival gang guys disturbing you.

There’s a remedy and they call it… killing. That should be Jim’s task. If you need some help, just grab a phone and call Terry or Clay.Then just grab the wheel and drive the truck away. Beware of the attacking cars. You can get rid of them either when driving, or you can stop and sweep them manually, so to say. When you get back to the dockyards, you’ll see a cutscene revealing a couple of police officers trying to get bribed in exchange for their silence. You’ll handle this with ease.
Once the mission is over, Terry will inform you about a race showing up on your map.
6. Bad Cop Drop
Jim
Reward: + 2000$
Jim’s still little upset about the policemen from the previous mission. He’s given you the automatic gun and challenges you to race him to the destination. As expected, Jim makes the policemen pretty angry.

They will follow you, but make sure you do not shake them off as you need them to arrive to a certain place (press CapsLock to see the overall distance between you and their vehicle).
Once you get them to an ambush, get off the bike and find a cover. Be prepared for the reinforcements to arrive. Usual stuff for you – kill them all and evade the pursuit.
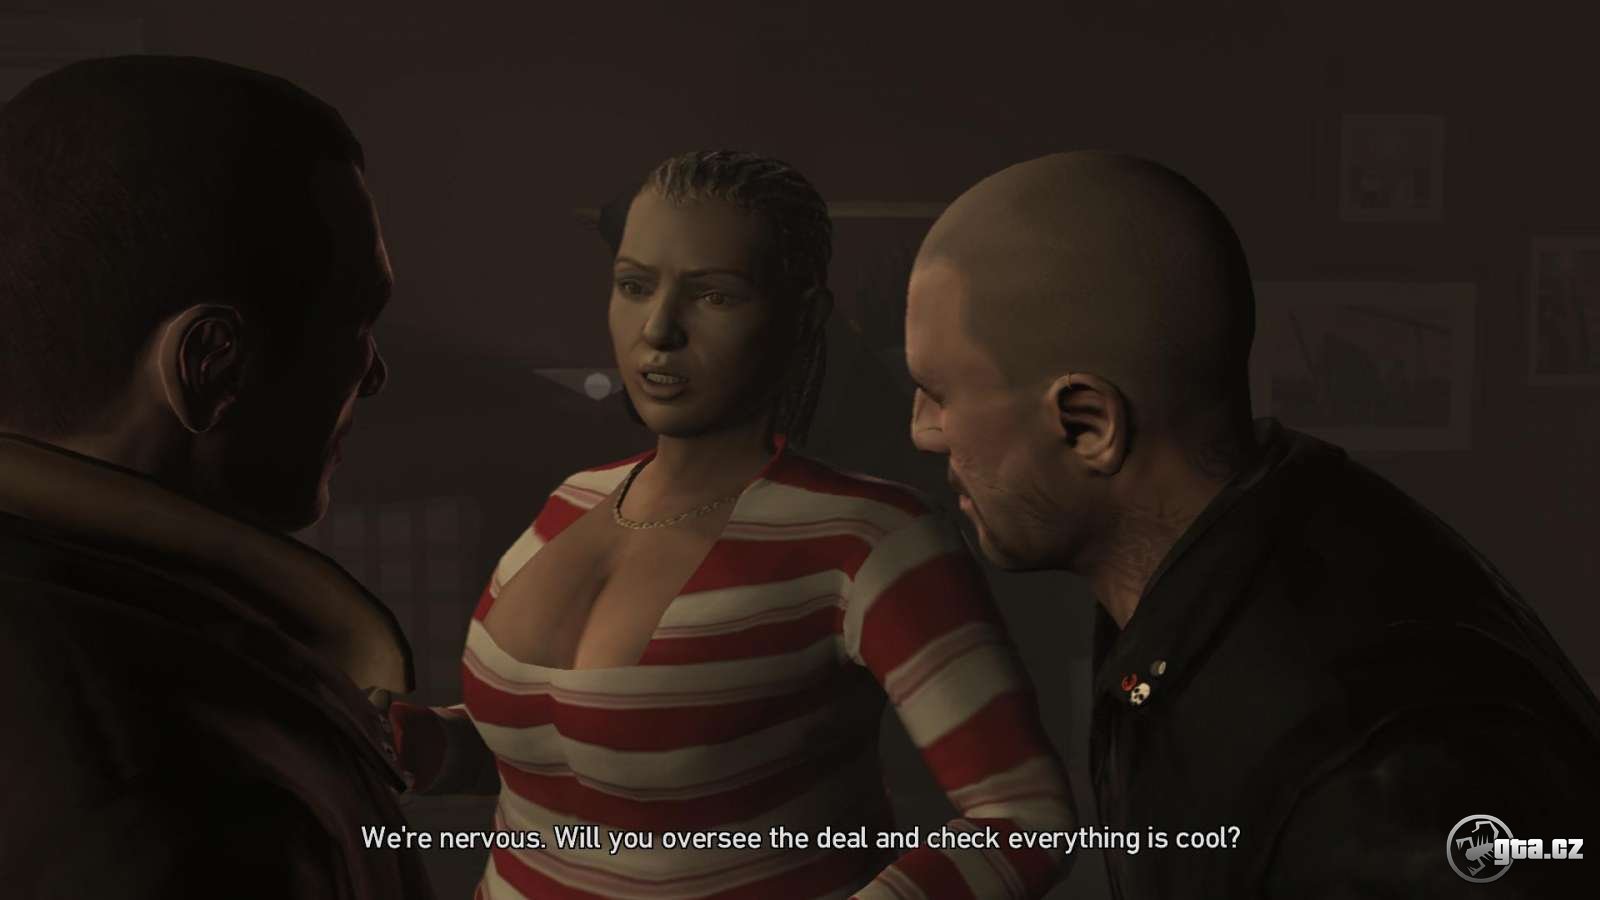
7. Buyer's Market
Elizabeta
The mission cutscene introduces you Elizabeta, Playboy X and Niko. Elizabeta managed to find a buyer for the drugs stolen from the Angels of Death. This mission is part of the original GTA IV release through the eyes of Johnny. Drive to Braien (dwelling nearby) to acquire the package of drugs.

Proceed to the rendezvous point and follow the stairs to the third floor. Meet Playboy X and Niko. The situation gets complicated as there are cops everywhere in a moment. There’s no way out other than shooting. Don’t go upstairs (just as Niko did), but downstairs. There are a couple of cops waiting, but a loaded gun and proper cover should help you out of this situation. Hop on your bike and lose your heat level. Billy calls you to make sure you have the money and tells you about Tom Stubbs, the congressman (the “S” icon shows up on your map).
FBI agent Jones calls you after the mission and tries to get more information on LaD.
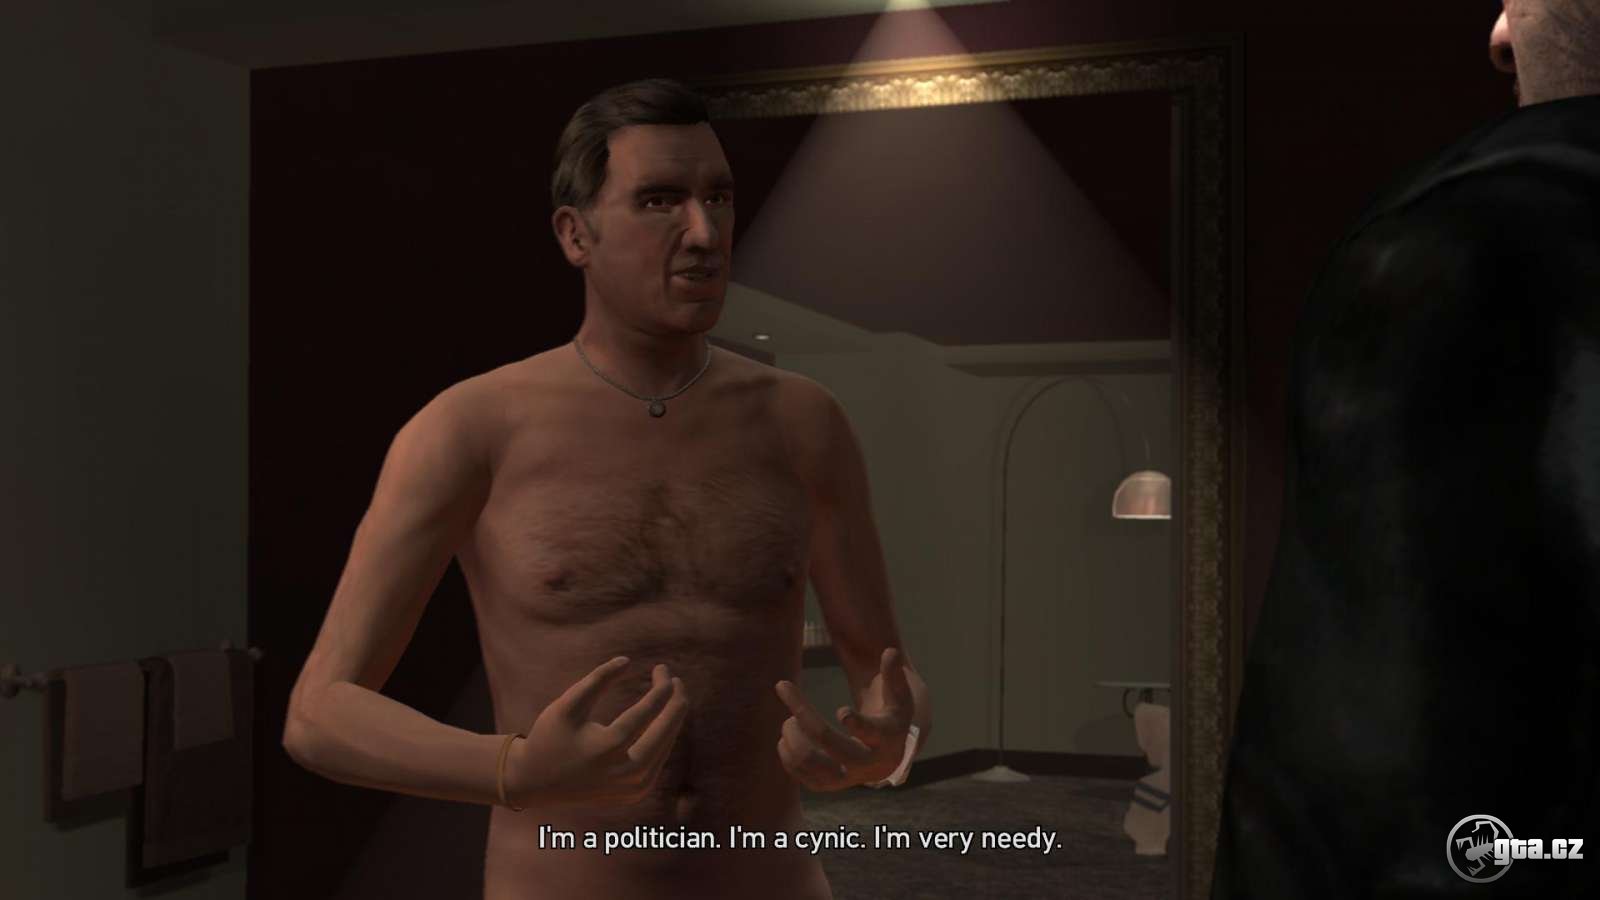
8. Politics
Tom Subbs
Reward: + 3000$
This mission allows you to peek under the hood of Liberty City politics. Needless to say it’s as rotten as the gang wars. Stubbs wants Johnny to kill his uncle, who’s about to land his helicopter at the local airport at 12:30. You’ll be given the RPG as the attack is requested to resemble an act of terrorism.

Once on the road to the airport, you’ll receive Stubbs’ text message regarding his man at the south-western airport gate. There’s a helicopter landing upon your arrival. You can shoot it down using the RPG, or kill the security guards at the entrance, drive near the convoy and complete your task face-to-face. Once finished, lose your heat level and you’re done. Call Stubbs to inform him about completing your mission.
9. Coming down
Ashley
Just as you finish the call, Ashley, your “girlfriend”, calls you and tells you about her distress. If you have enough health and ammunition, drive to her (otherwise fill them up). Once in front her house, proceed to the second floor. Kill the first enemy at the apartment door. Be careful, there are two other guys running out of the next door at that moment.

Finish them and get back to the apartment and take cover. Using the cover, kill the enemy and save Ashley. Then take her home.
10. Off route
Tom Stubbs
Reward: + 5000$
Stubbs wants you to attack the prison bus carrying prisoners, which would be of special value to him set free.
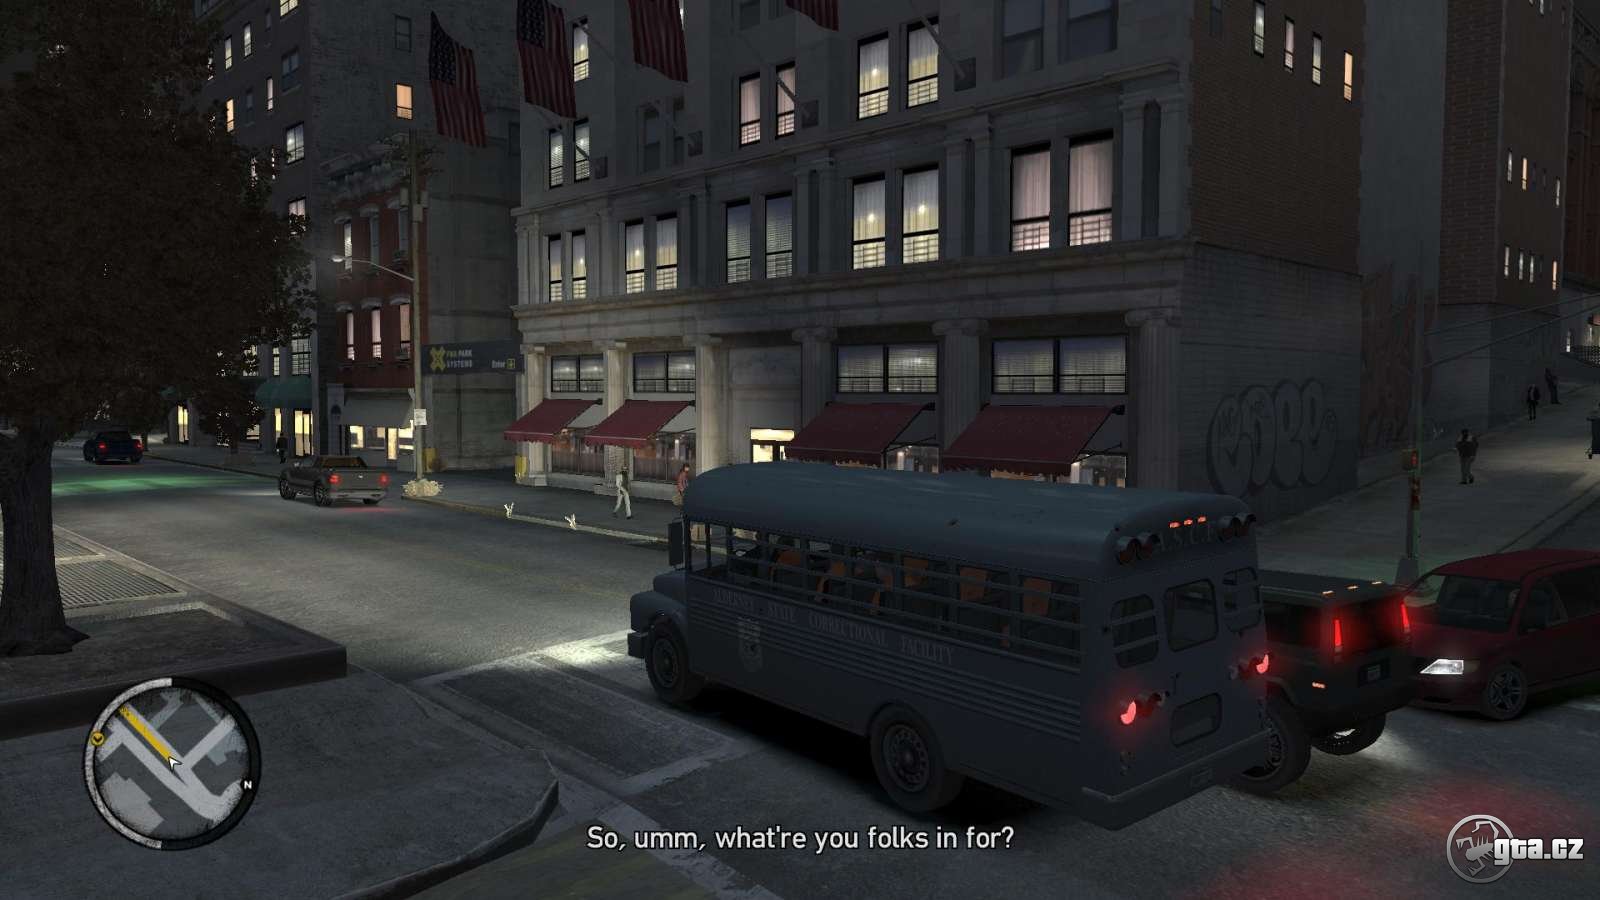
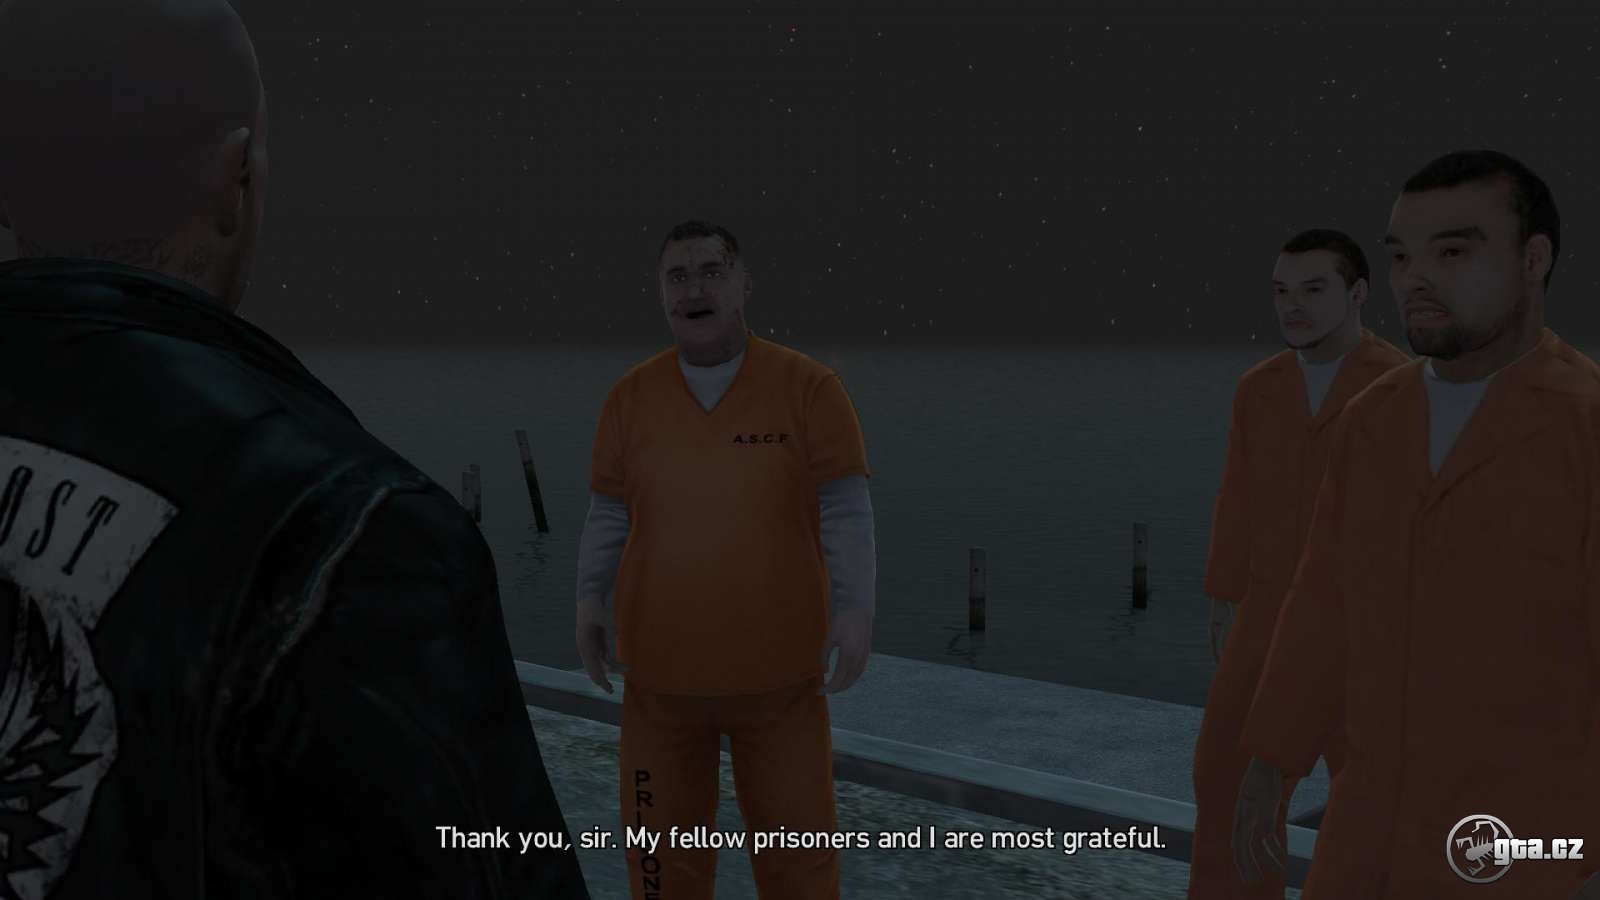
So the next stop is the police prison. I recommend taking a bigger SUV and ram the cops around the bus. Once you get close to the bus, you become its driver. Lose your heat level and then take the bus to the usual location (follow the yellow route). The prisoners thank you and sail away.
Stubbs calls you after the mission and offers you some bonus missions if you call him.
You also get a text message from Billy, requesting your presence in the clubhouse.
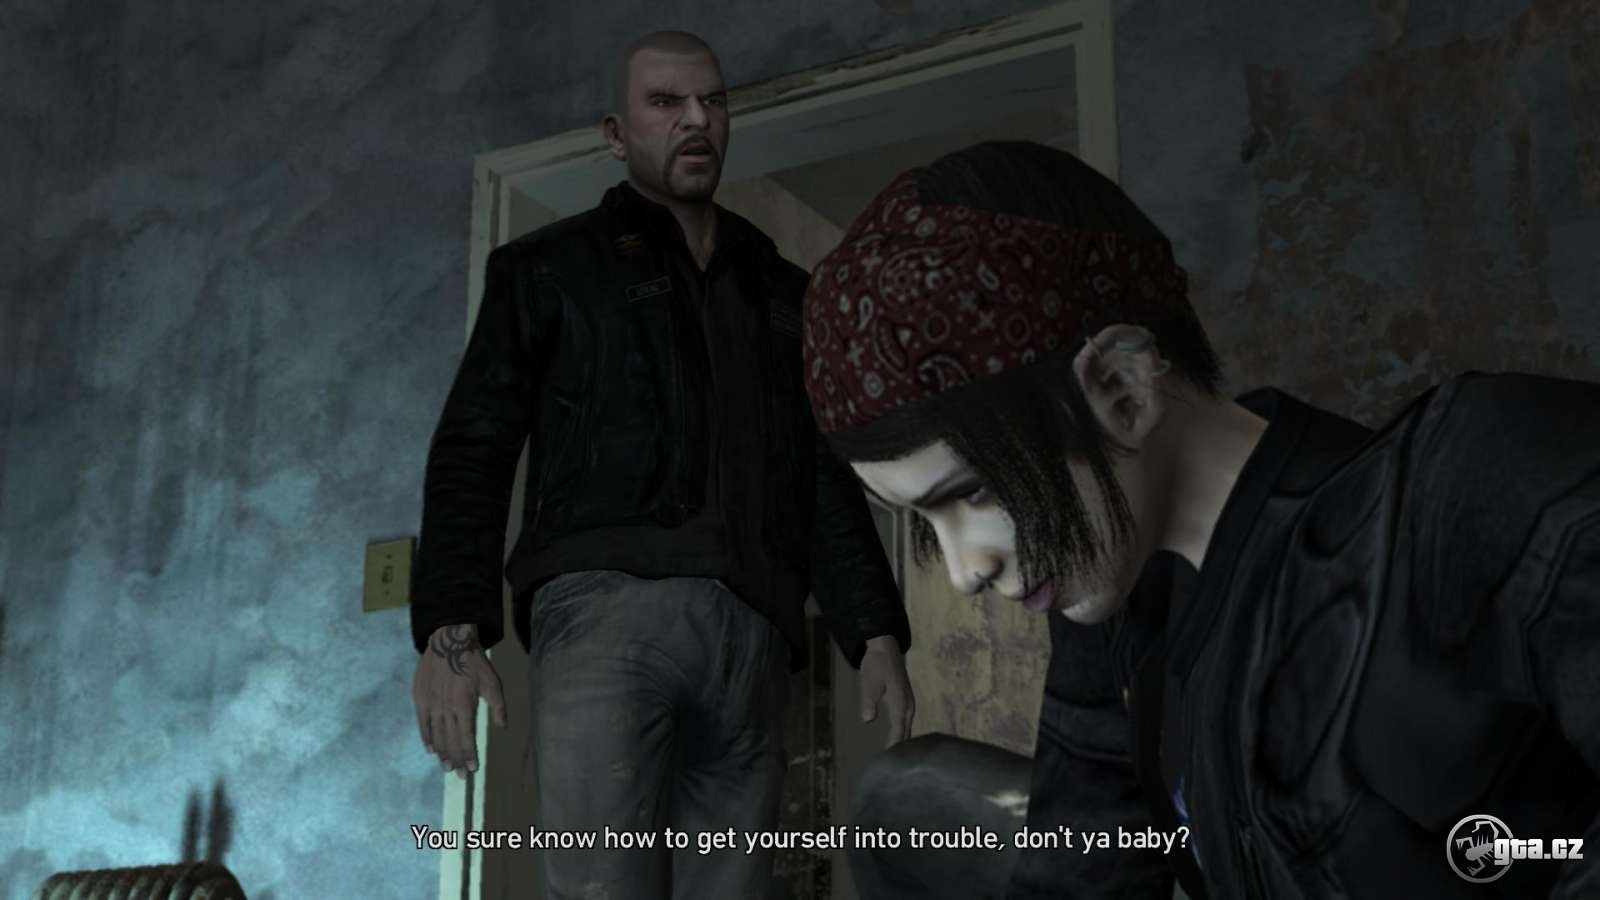
11. This Shit´s Cursed
Billy
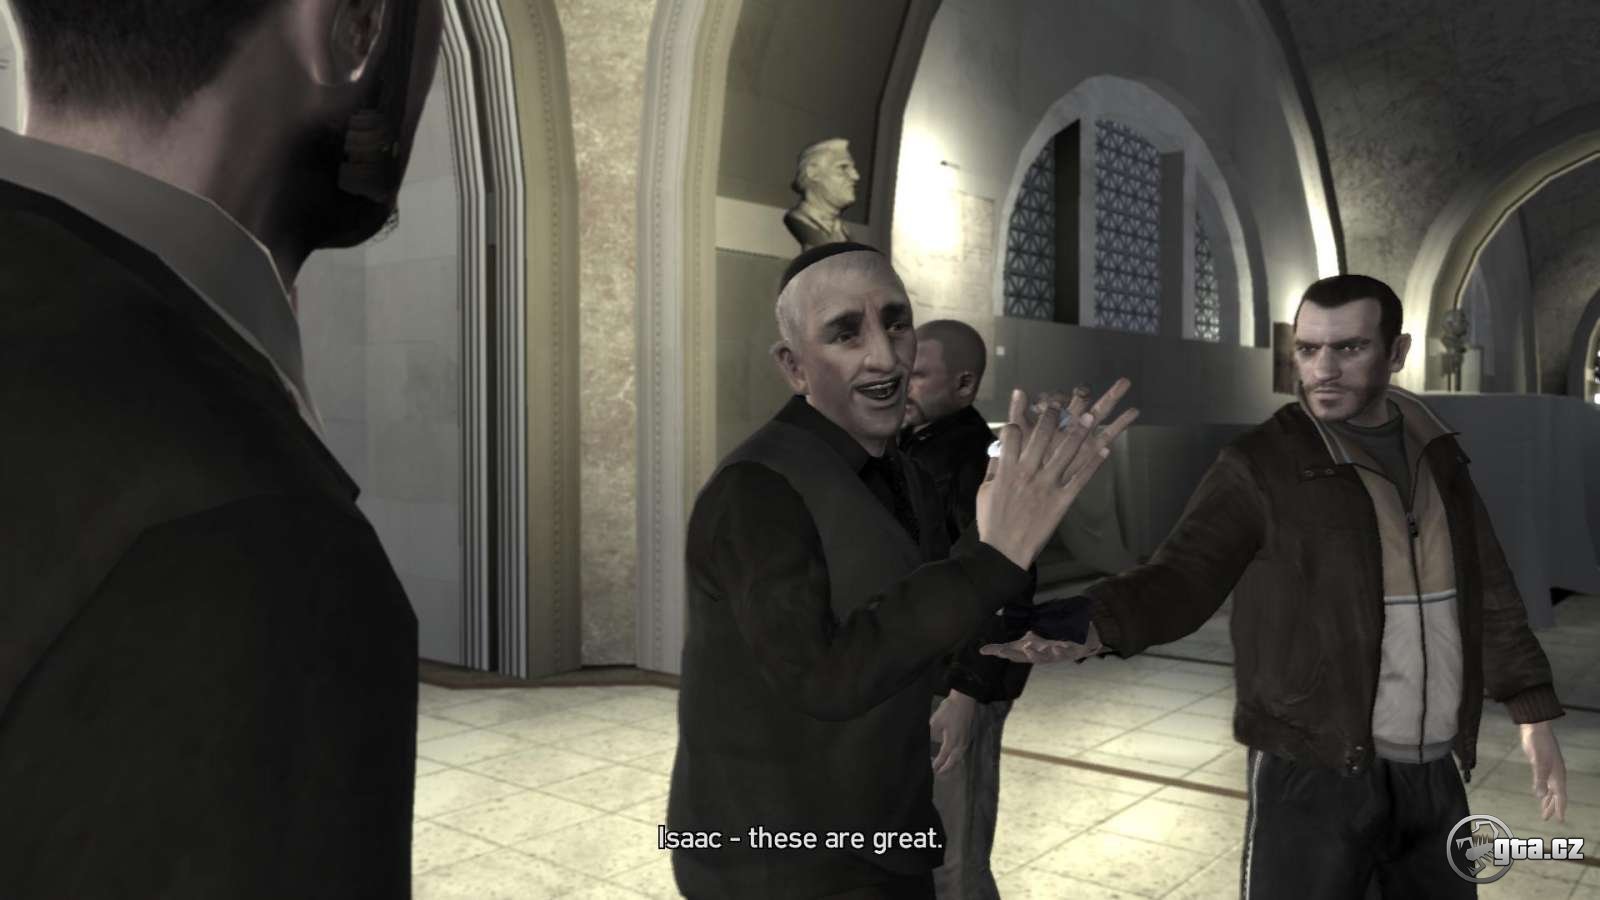
Drive to the specified destination to hand over the stolen heroin to the Chinese mafia. Billy and Brian wait outside; it’s just you and Jim going inside. The Chinese recognize the heroin sold to the Angels of Death and a shoot-out starts.

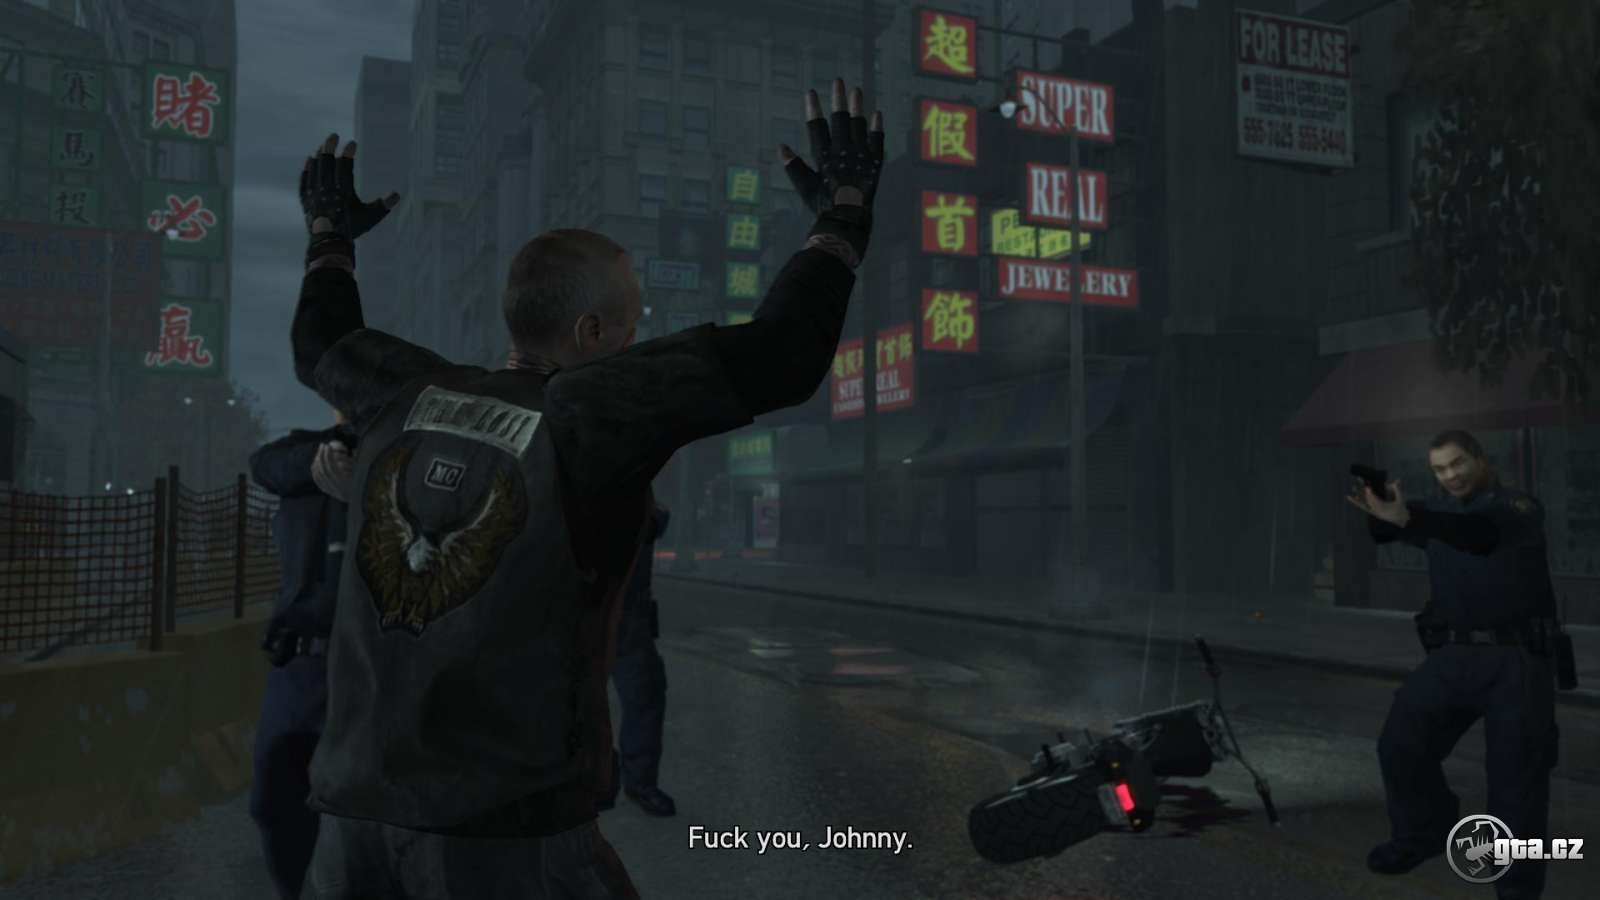
Follow Jim over the scaffold into the building full of the enemy. Once you get back to the street (using two ladders), you notice beaten Billy being arrested by police. Billy blames Johnny, as well as you are about to meet Brian behind the building. You’re becoming the club president and you have to take Jim and Brian back to your clubhouse. Brian accuses you of treachery and becomes your enemy upon arrival.
New symbol (J for Jim) shows up on your map.
12.Hit the pipe
Jim
Reward: + 2000$
Malc brought along new friend, who’s really into bombs. Jim suggests this could put the Angels of Death out of business. Johnny agrees and takes several bombs. Your task is to follow the three vans driving around the city (they are marked as three moving targets on your radar). I recommend starting from the top. Once you get closer to it, switch to any firearm (Q key by default).
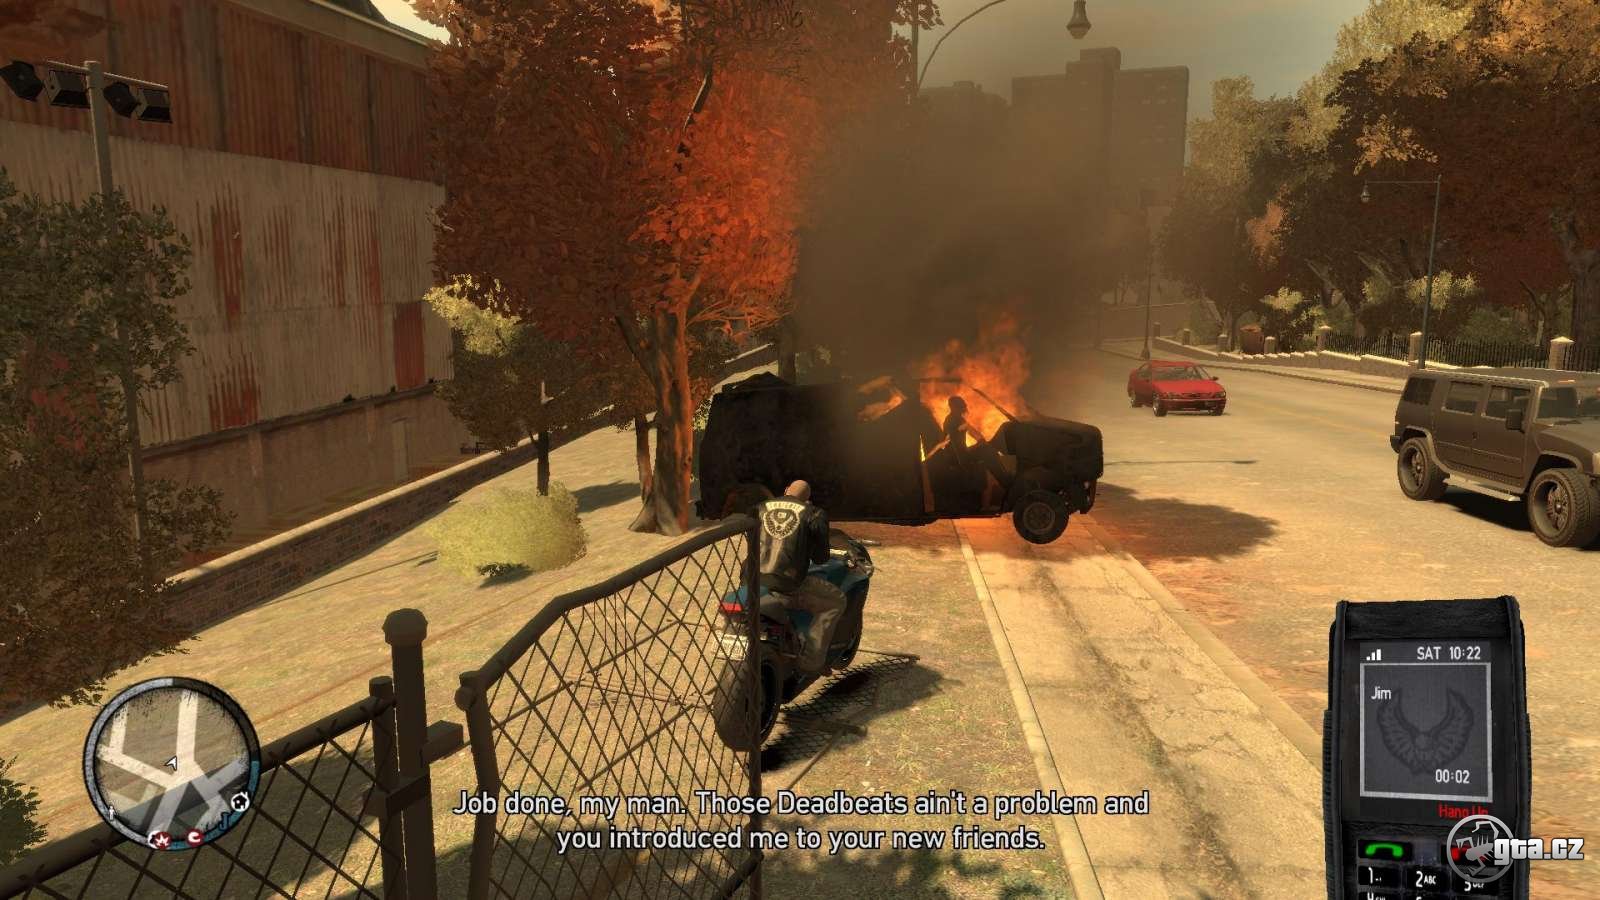
Shoot the passenger and then drive in front of the van and drop the bomb (obviously you have to switch to it using the Q key). By holding the left mouse button you activate the bomb and shorten the explosion time once you drop it. The other option is to drive a little ahead and drop the bomb then. Once you wreck the van (with just one armed passenger), it’s time to come back for more. Make sure you eliminate the shooter at the storage area – shouldn’t be a big deal. The last van is accompanied by a chopper with an armed enemy, which means – first things first. Get rid of the rider, kill the passenger and bomb the van.
Once this mission is over, Jim tells you about Terry and Clay – guys who help you out of the trouble (you can find them in your phone as the „Backup“). Elizabeta sends you a message revealing a new mission in Bohan.
13. End of Chapter
Jim
Reward: + 2000$
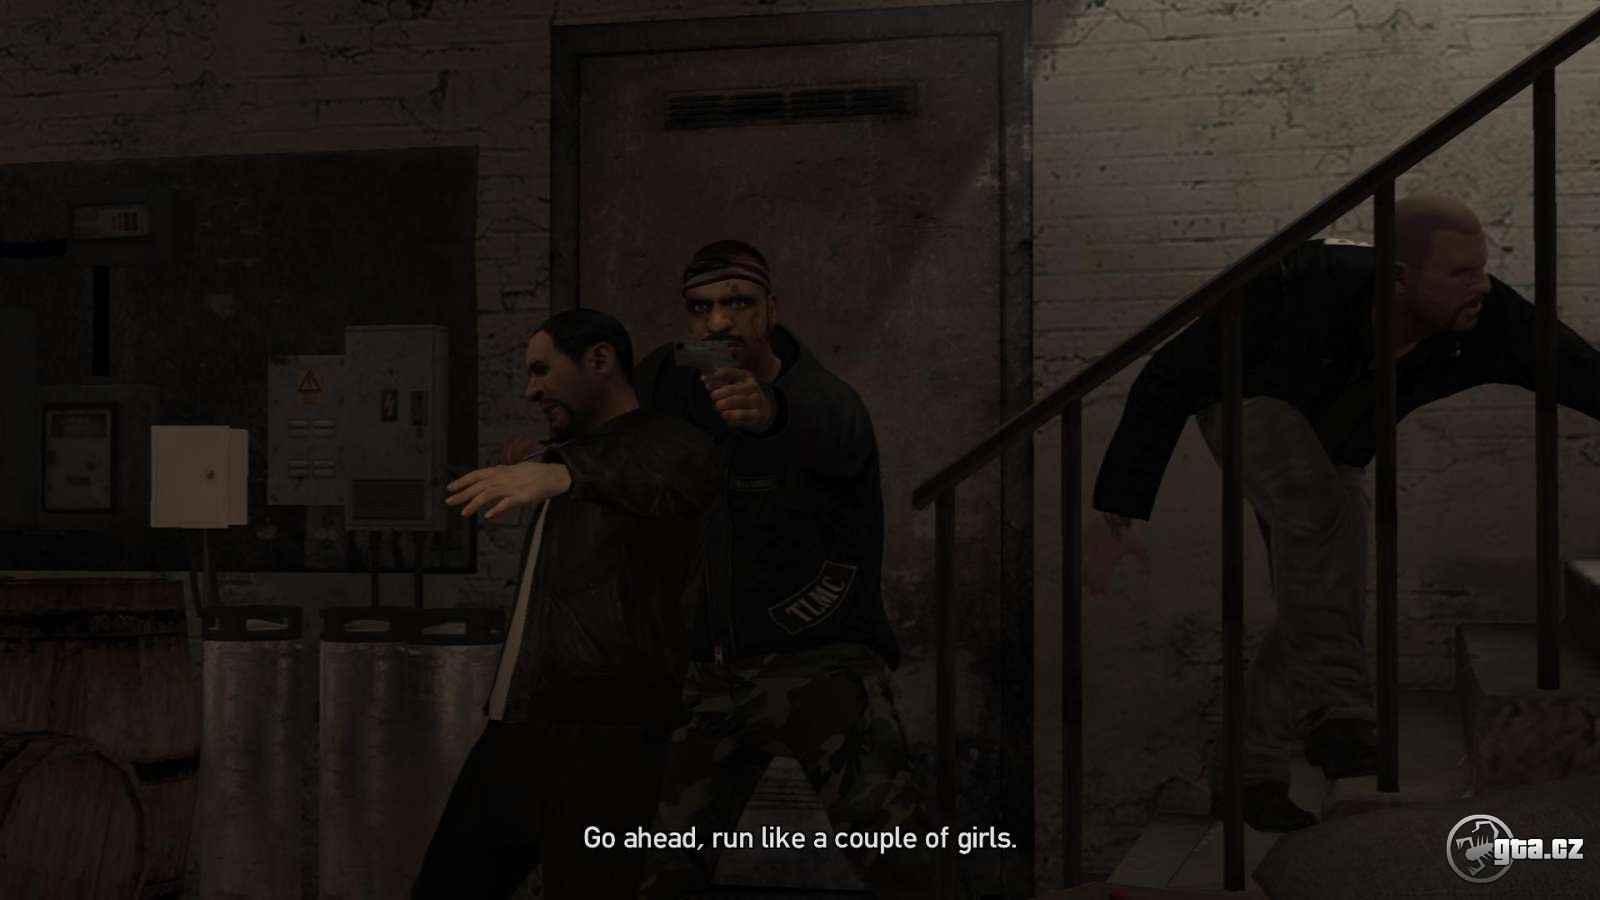
Jim tells you about Brian wanting a truce. Johnny doesn’t believe it and has to check things out. Lead your gang to the Alderney dockyards. As expected, the negotiations turn into a gunfight.
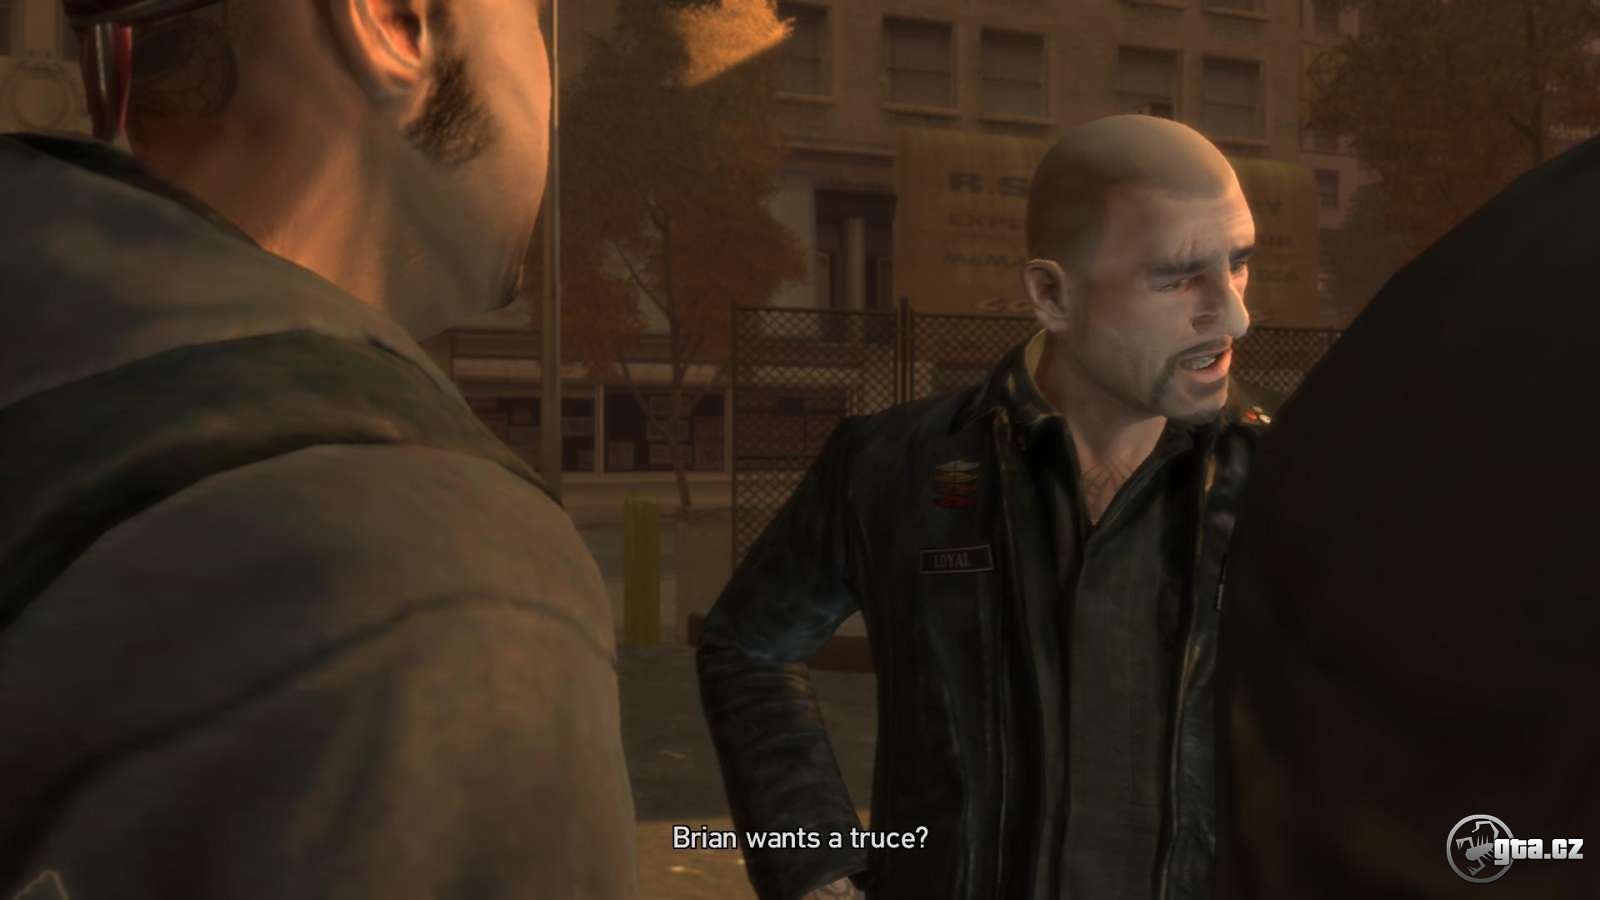


Use the cover to get rid of all enemies. Beware of incoming vans and bikers. The attackers show up after a van coming from the left (along the broken wall). Once you get rid of them, chase the bikers trying to flee. Your best bet is to kill them within the dockyards. Follow Jim when they are dead.
14. Bad Standing
Jim
Reward: + 2000$
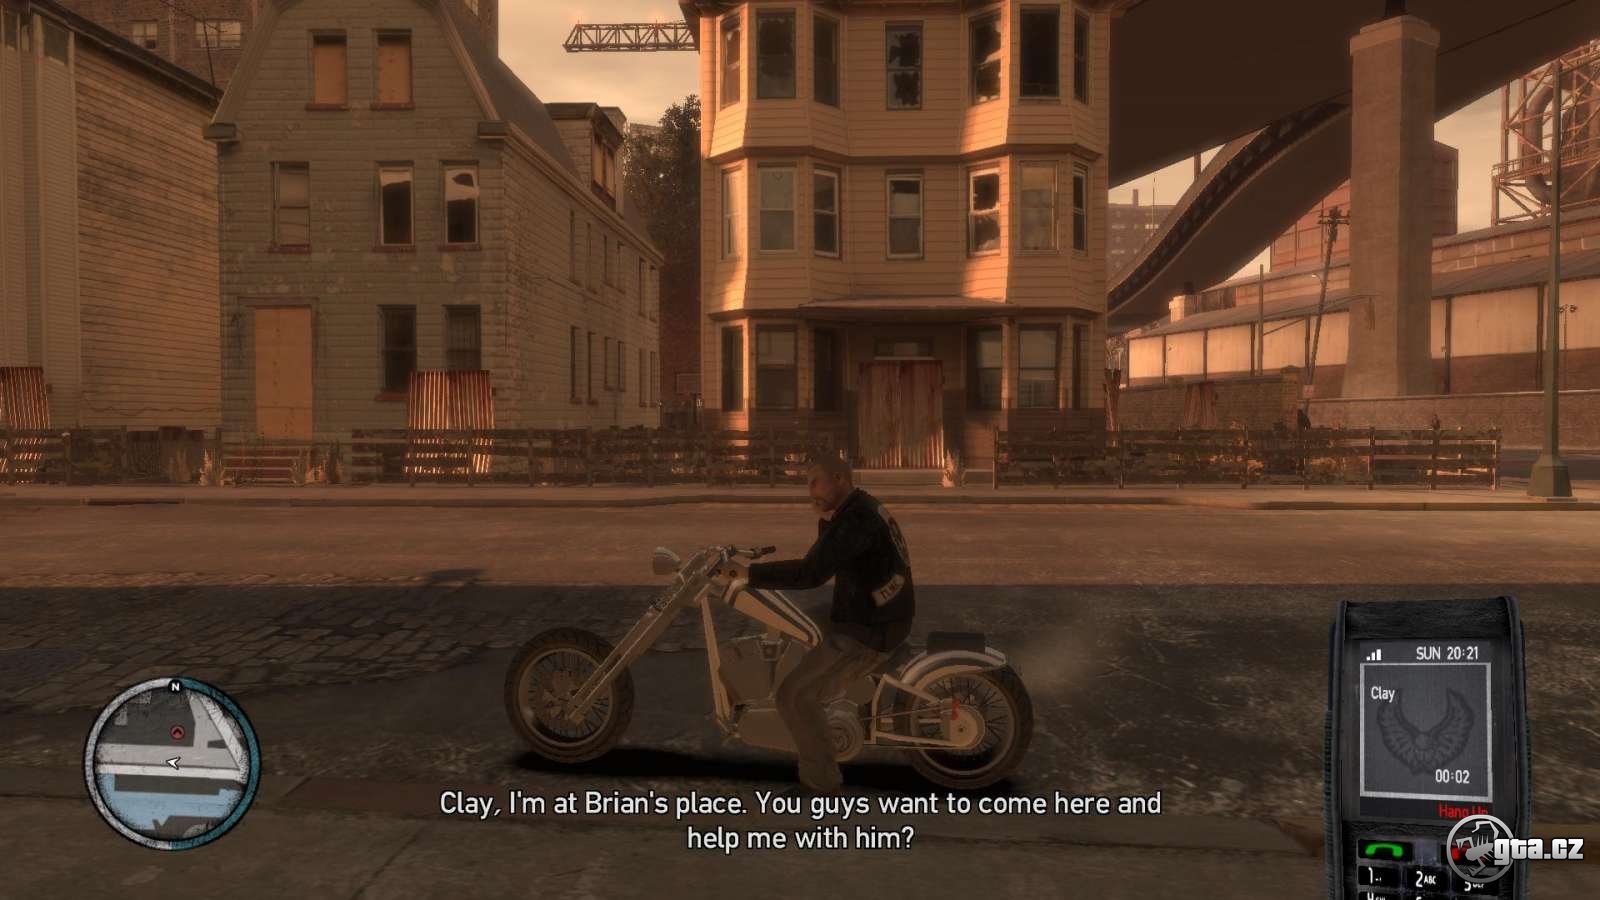
The cutscene depicts you meeting with the loyal gang members and Ray Boccino. He knows Brian’s hideout position and tells it to you. You receive Jim’s text message upon the arrival reminding you about the “Terry and Clay services”. Do not hesitate to call in one of them (dial Backup in your phone).


They start eliminating the enemies spread all over the house as soon as they arrive. There are two ways to go now: either throw a grenade into a window (and wait for Brian to escape from the house), or shoot your way through to him. Personally, I recommend the latter (be sure to carry a gun – automatic, desert, doesn’t matter – if you want to see an impressive cutscene). Get into the house and turn left. Kill three enemies and proceed to the stairs. There’s another enemy hiding there. Finish him and proceed to the next room, just turn left next to the stairs. Kill three attackers and find Brian waiting right behind the corner.
Draw a gun and make your choice – let Brian go (he’ll be available as a random character later) or execute him.
15. Heavy Toll
Elizabeta
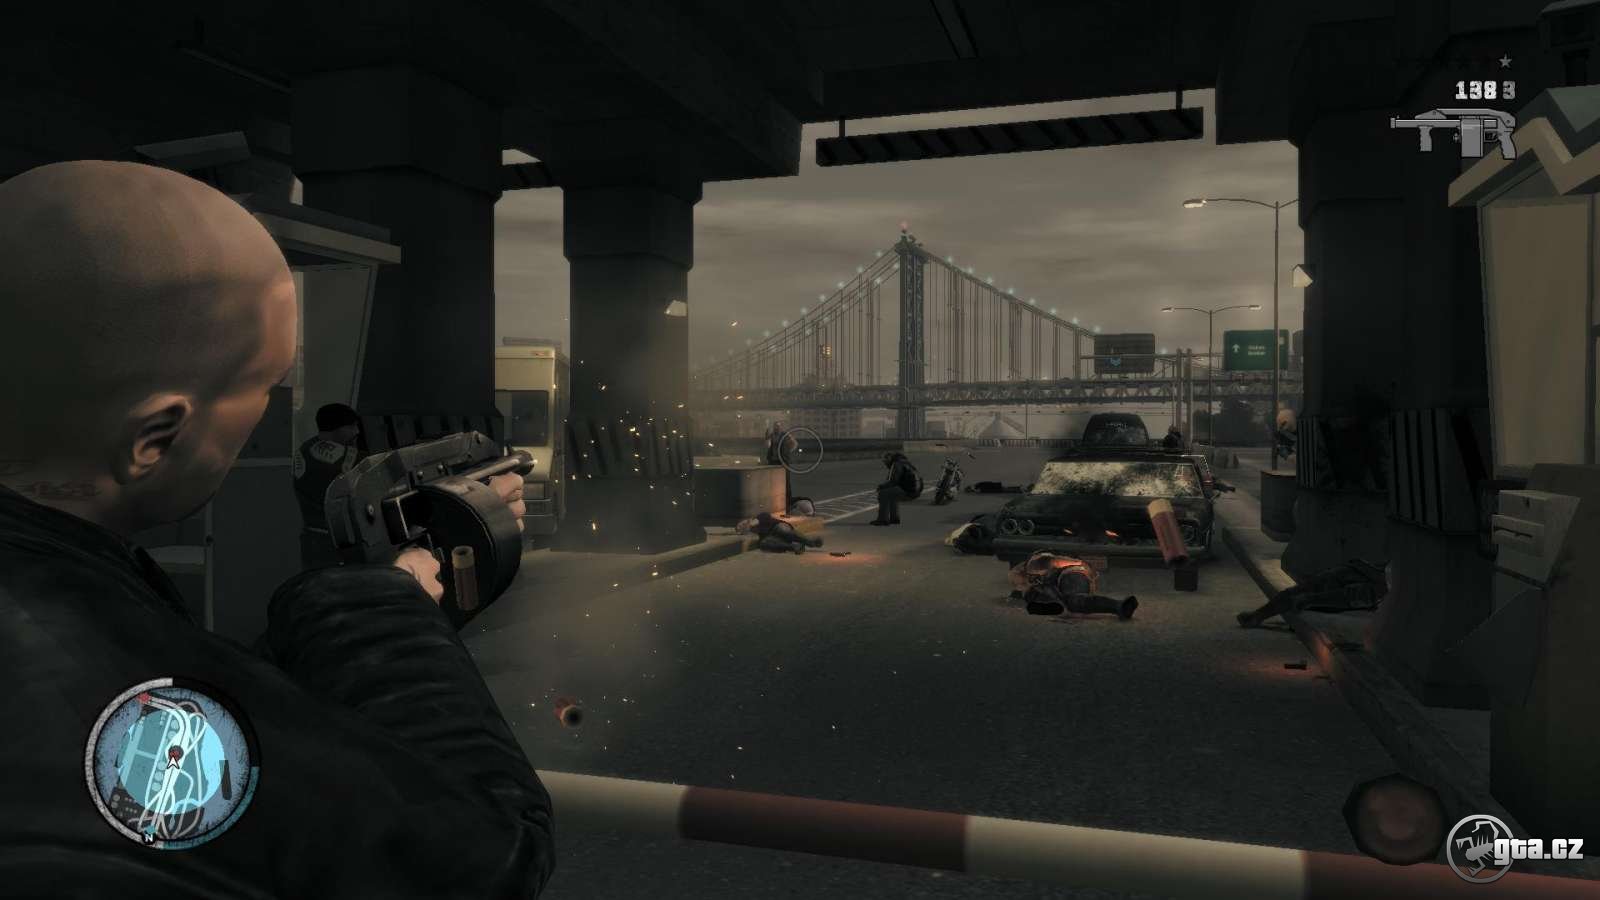
Elizabeta has been robbed by the Angels of Death recently. You and Malc with his friend decide to go to the bridge with the toll gates. After capturing the gates and hiding, there will be an incoming convoy. Start shooting once it gets within your shooting range. Beware of shooting at the black van, because your task is to drive it elsewhere. There’s a completely new weapon, which should help you deal with all the enemies – the assault shotgun. Once all of them are dead, sit in the van, wait for Malc to get in too and lose your heat level. The van is rather slow, which might render your escape slightly complicated, but still possible. Proceed to Bohan garage (the one with the guy you met while trying to find Bill’s bike). Park it there and the mission is over.
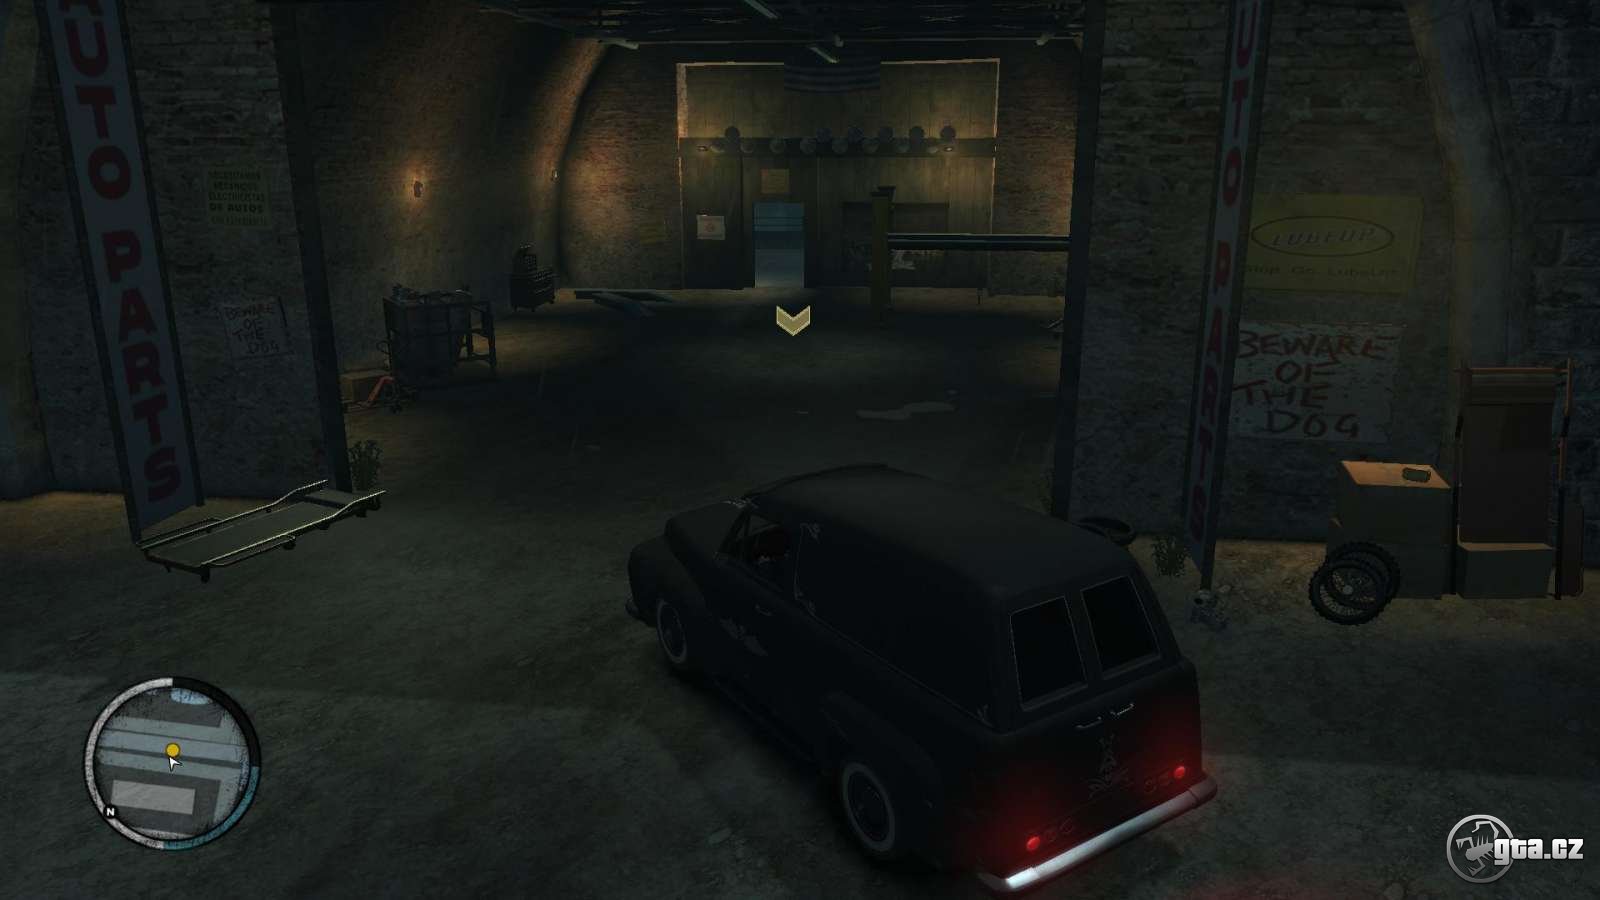
Note: There’s a new bike available in front of the garage. It will be available through Clay. Standing opposite of it is Hakuchou Custom – the fastest GTA bike of all time! And trust me, there aren’t many chances to get it.
16. Marta Full of Grace
Elizabeta
Reward: + 2000$
Elizabeta asks you to pick up Marta, who is smuggling drugs from Puerto Rico and just arrived at the airport. Drive to the airport and watch the cutscene, in which Marta is freed from the FBI by you. Use the cover to eliminate other cops (and yes, there are plenty of them).

Once you get rid of them (I suggest using the RPG and the pipe bombs),
hop in the first car you bump in and lose your heat level. All you have
to do next is to survive the Mexican-English dialogue and drive Marta to
Elizabeta.
17. Shifting weight
Elizabeta
Reward: + 3000$
You’re going to see your old friends in a cutscene – Marta, Malc and Liz, as well as her sidekick Andreas. Your task is to sell the drugs Marta brought in. Follow Malc and DeSean to the meeting point (it is located near Liz’s apartment). Johnny tries to sell the drugs, but fails and loses his bike, not to mention the police coming.
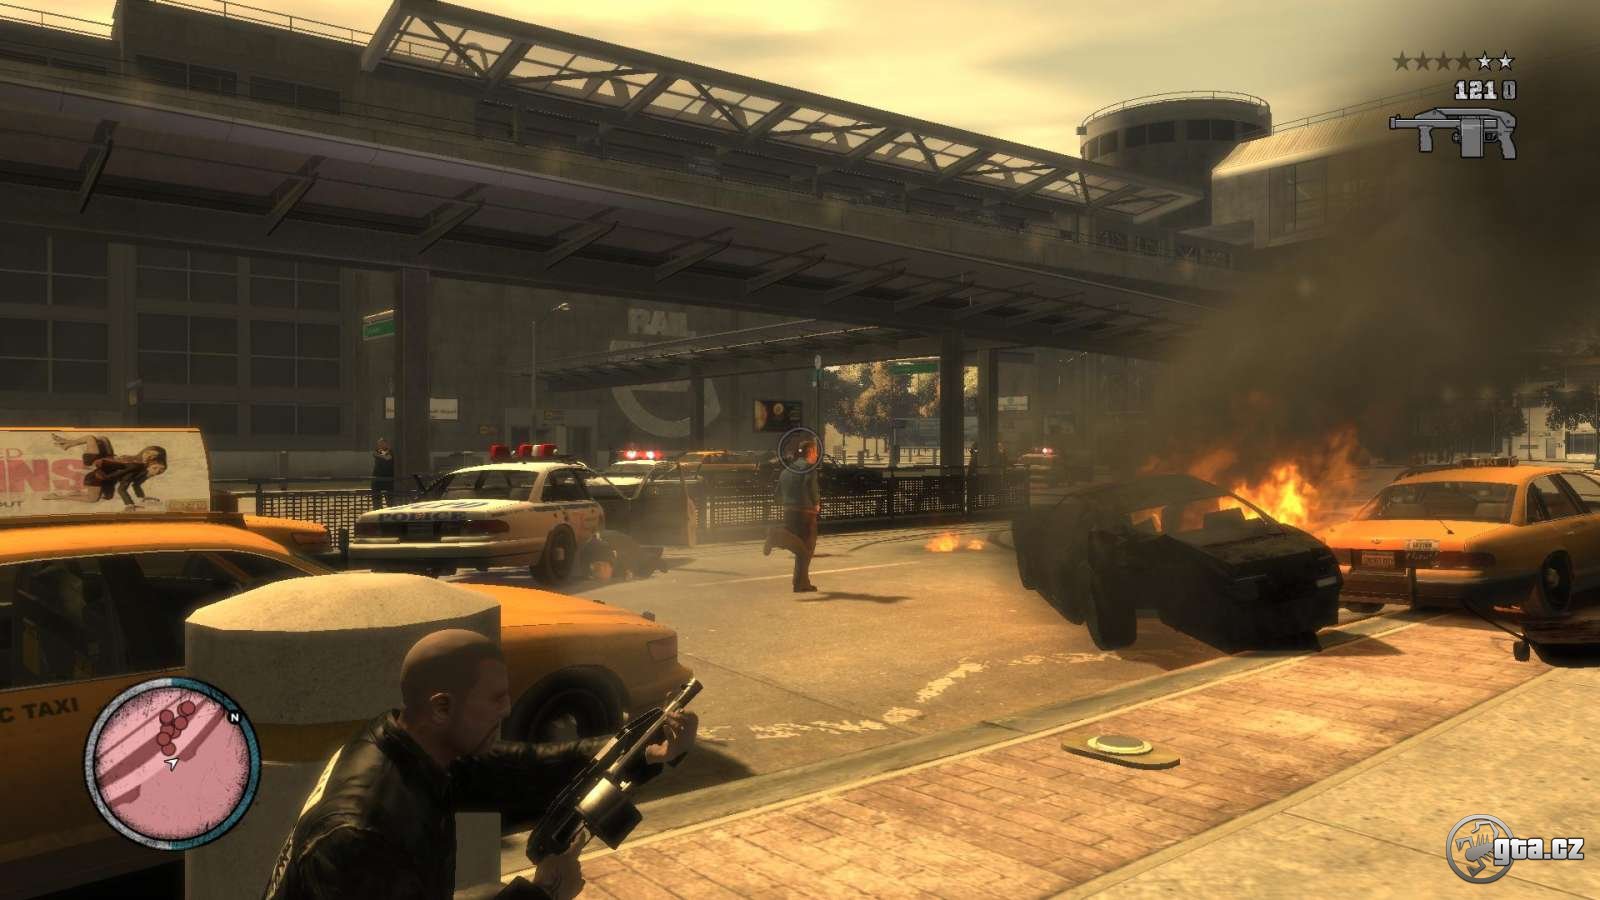
You’re going along with Malc on his bike. Prepare your assault shotgun, which will be very handy now. Police try to chase you for a long time, which implies the necessity of wearing the armor. Once on a highway, shoot the cars closest to you and make sure you protect defenseless DeSean well. When you reach the end of the highway bridge, shoot down the chopper. Once you get to the closed street near the luxury car showroom, the cutscene starts. You get surrounded by police – which is just the beginning. Malc escapes through the showroom and the chase goes on. Be prepared for another chopper to be shot down. Proceed through the tunnel (do not forget to destroy police cars) and soon you’re going to lose your heat level. Once you finish, the mission is over.
Ashley calls you after the mission and asks you to meet Ray Boccino in Drusilla’s in Little Italy.
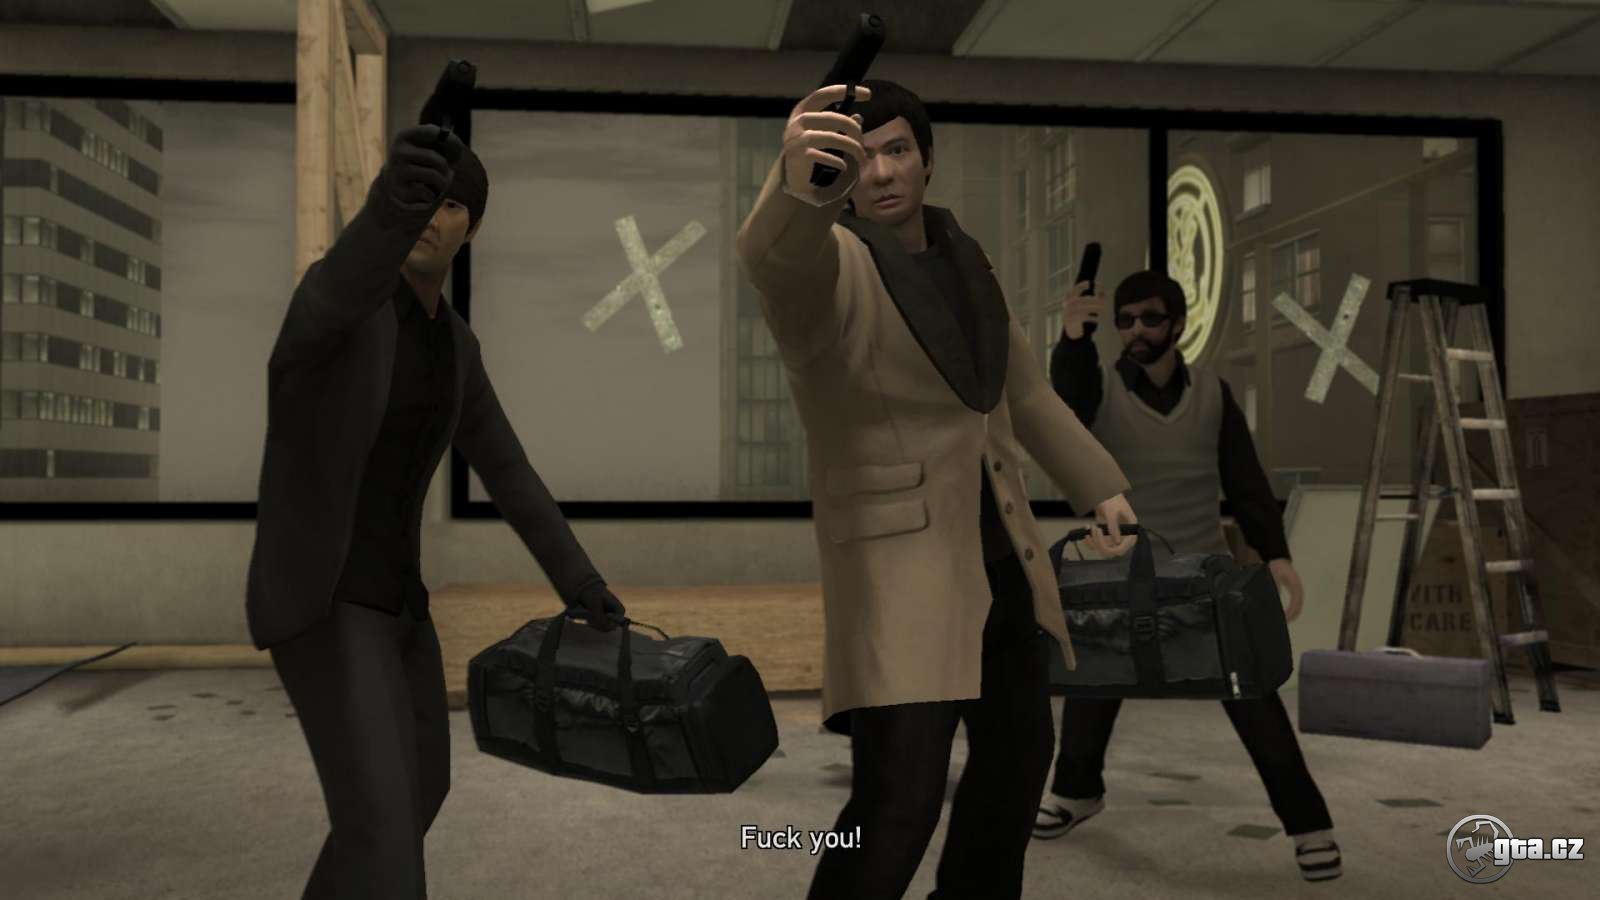
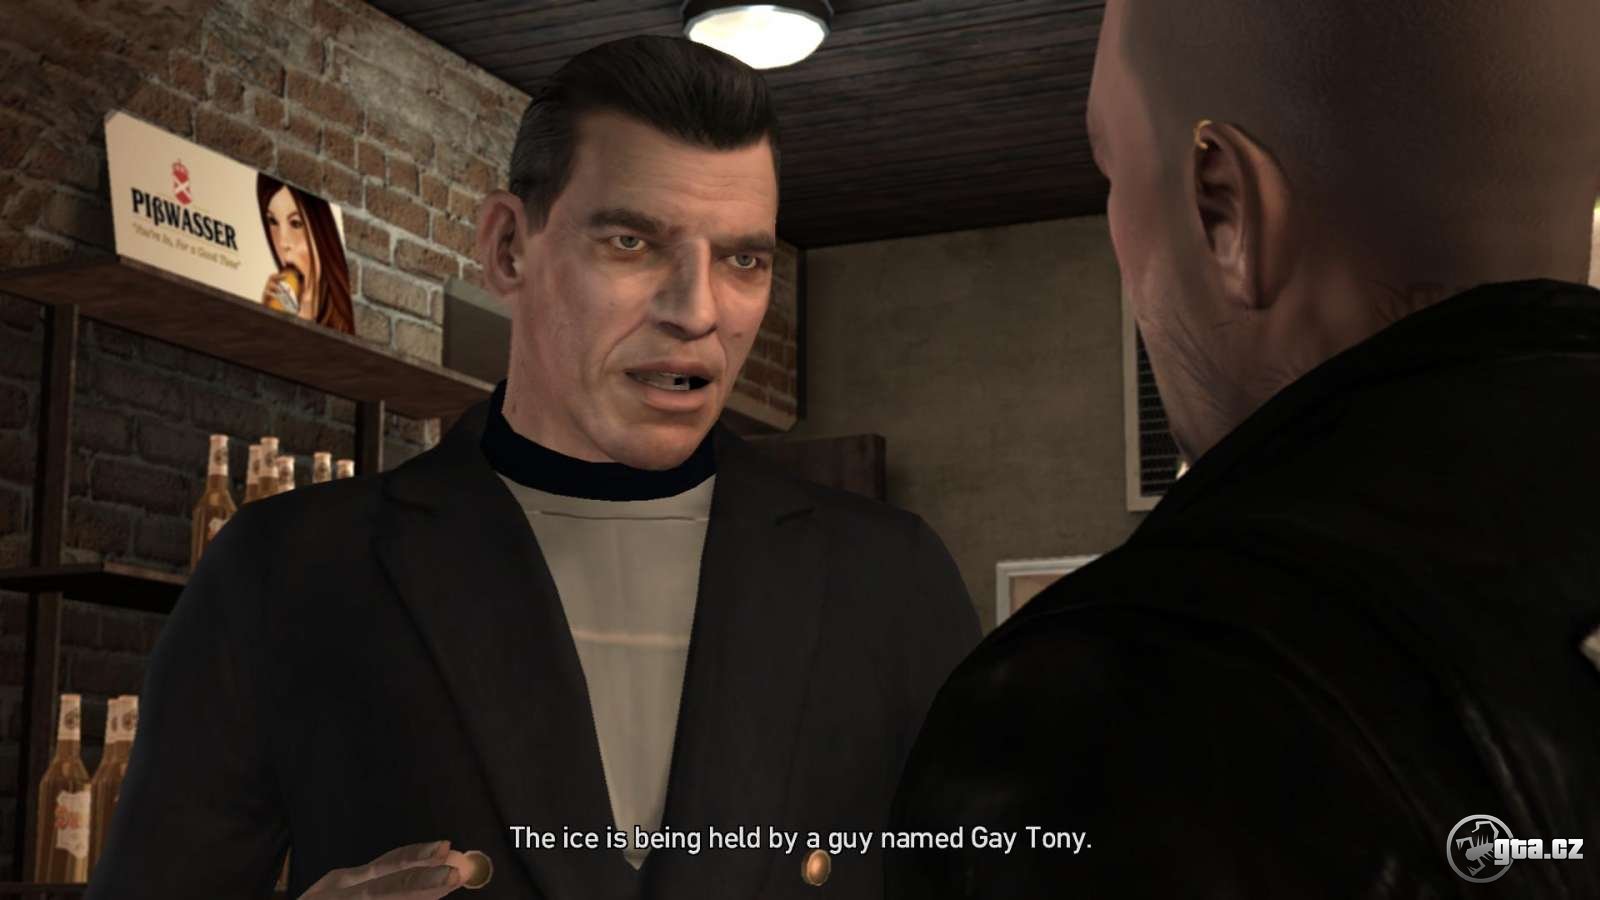
18. Diamonds in The Rough
Ray Boccino
Drive to Little Italy and listen to Ashley, who’s still on drugs. Talk to Ray in his restaurant. He needs you to “pick up” the diamonds from a guy called Gay Tony. Johnny calls his gang, which is already waiting at the Broker Bridge.

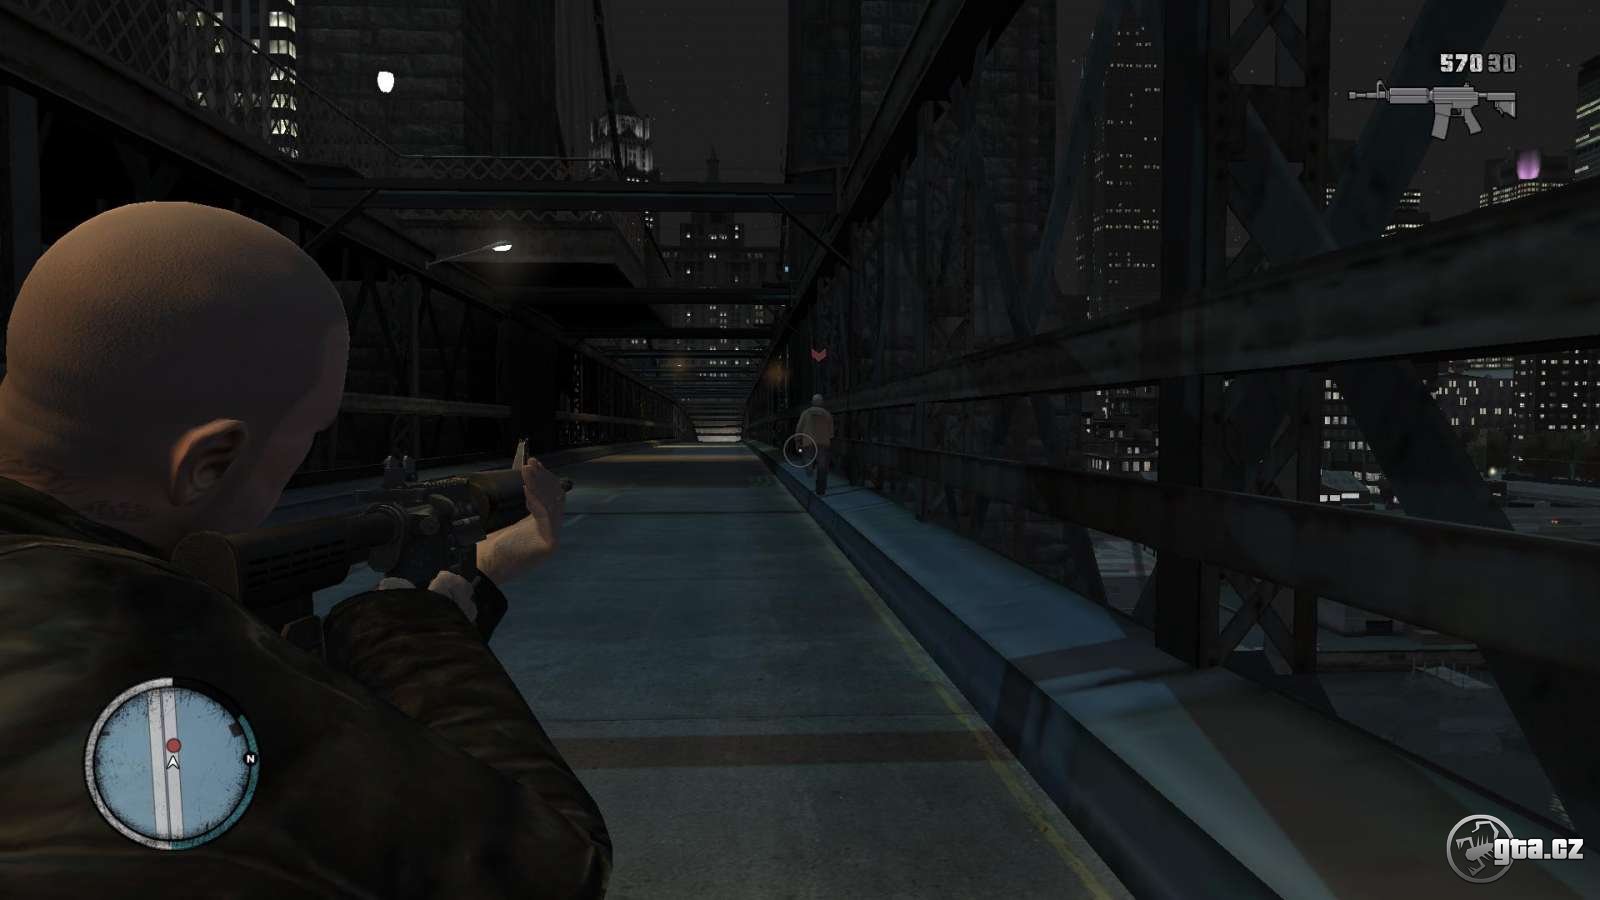
Follow the green-blue color on your map. Once with them, move forward and lead the gang. Jim sends you a text message reminding you Clay’s and Terry’s help. Lead your gang to the dockyards (known well by original GTA IV players). There’s the boat Niko Bellic used to get here. Once on the spot, watch the cutscene depicting the purchase of the diamonds from the boat cook. It’s Gay Tony (accompanied by Luis Lopez and other figures) buying the diamonds. The Lost are hidden behind but they get spotted by Luis, who tries to escape. The chase begins. It’s fairly easy, just shoot at the limo. You’re likely to get this job done on the Broker Bridge. Grab the diamonds and throw them in the trashcans in two places (just as Ray ordered you to). Some of Tony’s bodyguards attack you – just kill them. Once the delivery is completed, the mission is over.
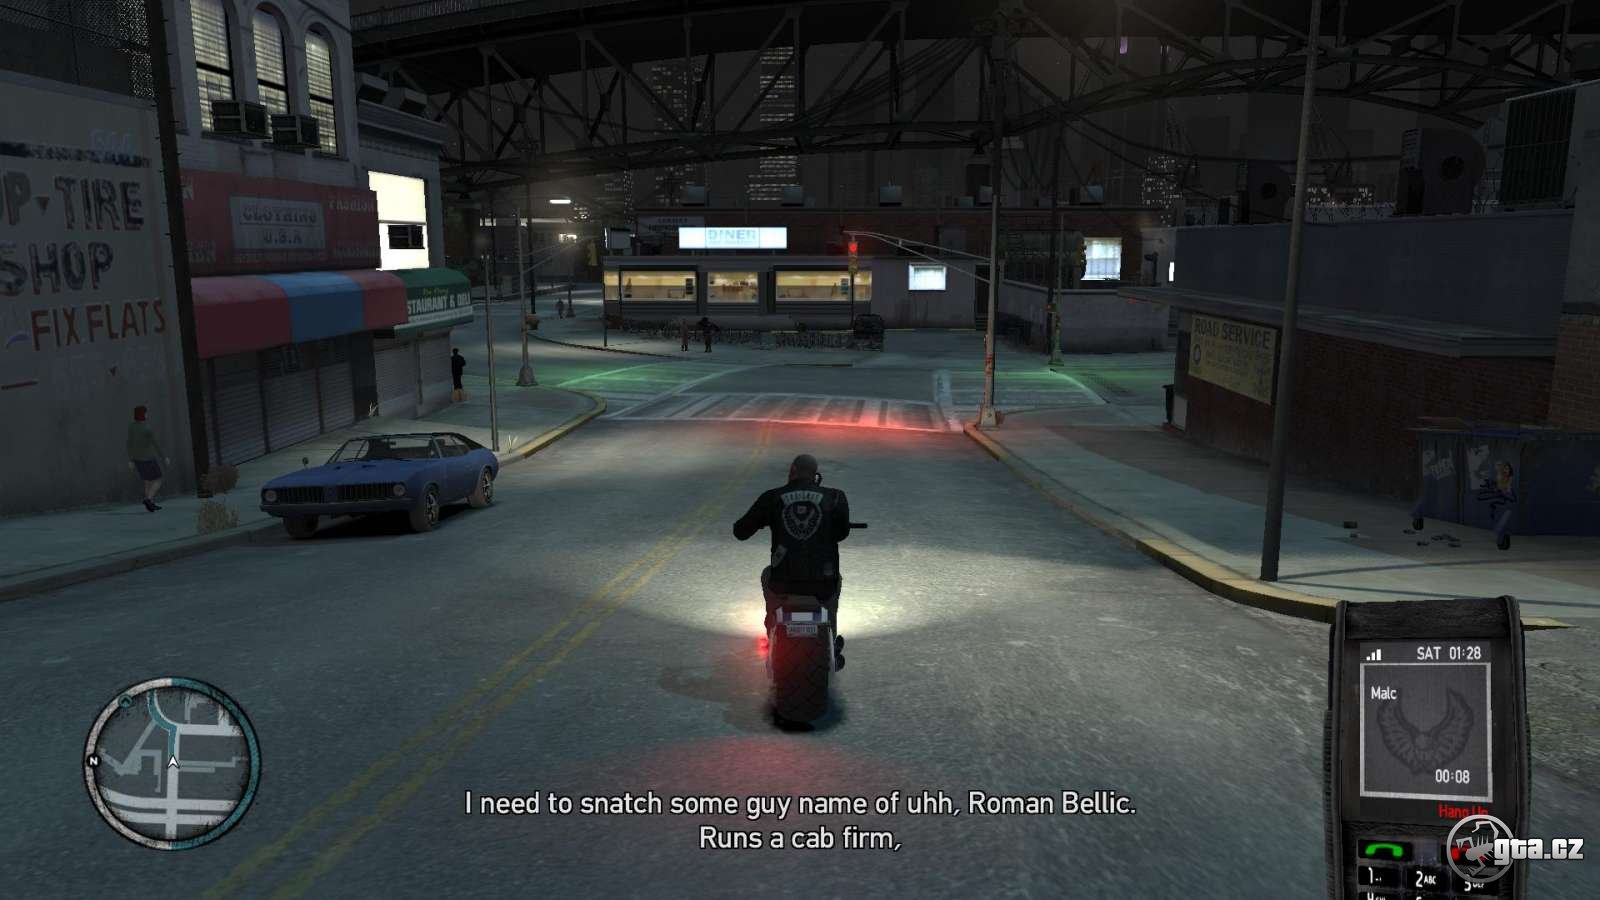
19. Roman´s Holiday
Ashley
Make sure you have the armor and the ammunition before this mission. Ashley’s in trouble again. She owes Dimitri Rascal some money but fails to pay her debts. All she has to do to make this up is to kidnap one guy. Guy called Roman Bellic. Call Malc to help you and drive to Algonquin. Grab a car and drive to the gaming lair, the play Roman usually visits. Stop on the yellow spot and wait.
Once Roman shows up, get out of the car and kidnap Roman. He tries to escape, when you slow down a little (and yes, it is fairly inevitable, hence slow down someplace where it’s safer for you). Catch him up and beat him (just a little), but do not kill him! He’ll understand how futile this effort would be and gets in the car. Once you hand him over, the mission is over.
Ray Boccino calls you immediately after that and next mission begins. Make sure you have the armor and the ammunition again.
20. Collector's Item
Ray Boccino
Reward: + 10000$
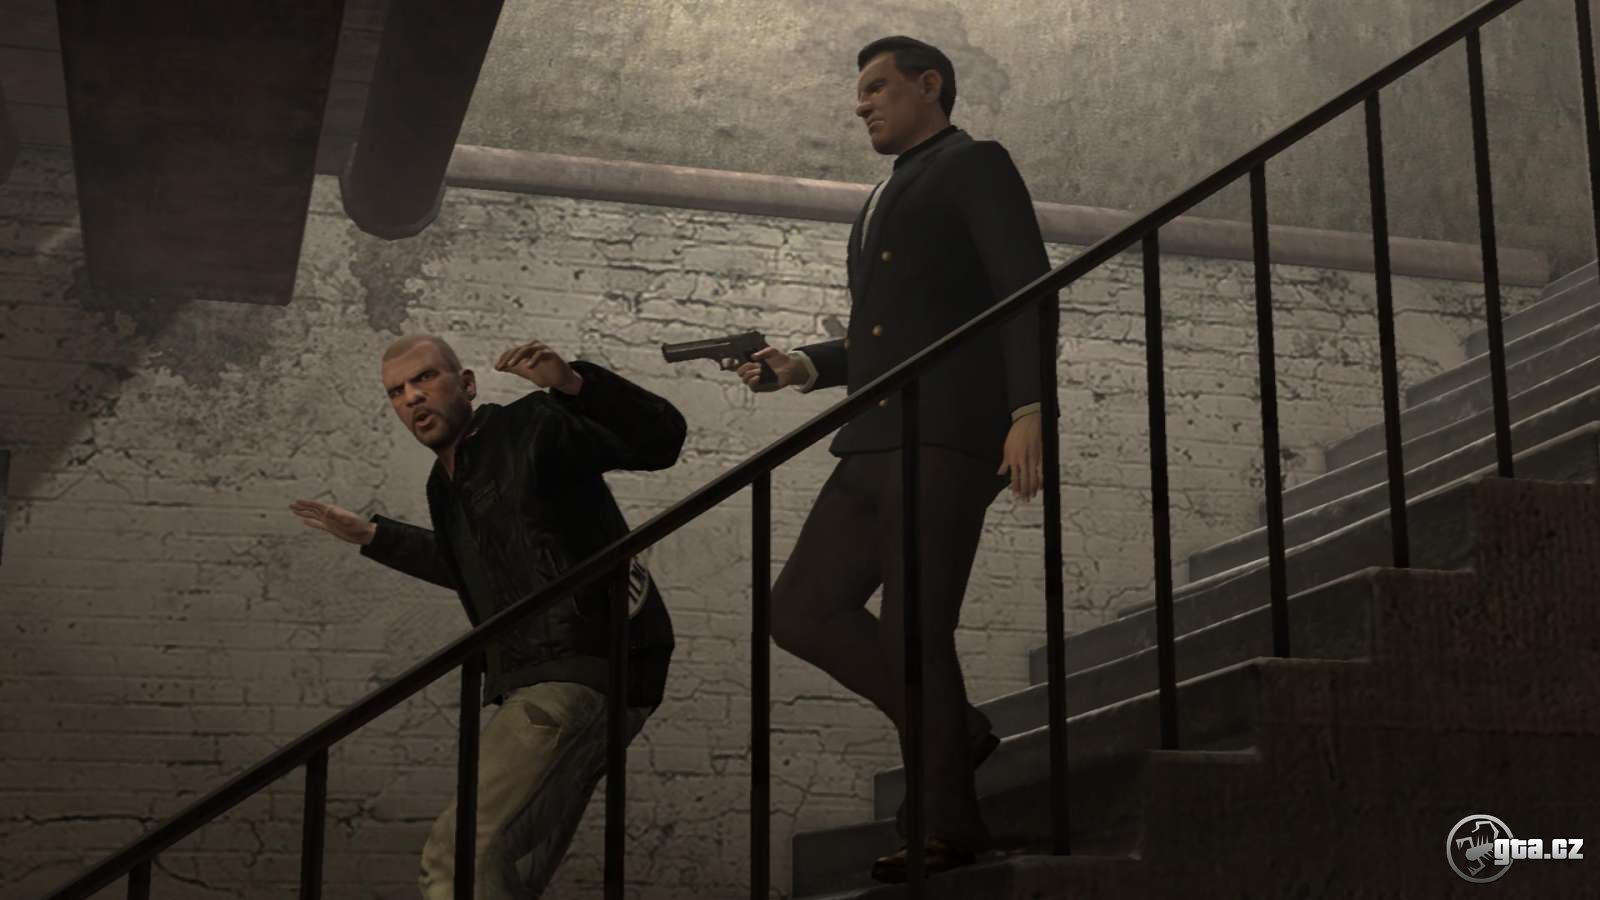
Once you get to the Libertonian Museum, use the side entrance to get in and walk through the museum to the EXIT door. Walk down the stairs and meet Niko (the Museum Piece mission in the original GTA IV).


Everything goes according to the plan until Luis Lopez shoots several diamond buyers. Johnny manages to grab the money. Now it’s time to shoot your way out. Using the cover, eliminate the enemies and proceed along the galleries. Turn right and then turn left, but be careful as there are enemies covering behind the pedestal. There’s another enemy waiting at the stairs. Most of them have been knocked down by Niko already. Run to the yellow label and use the cover at the exit. There are many enemies hiding behind the cars. Kill them and head out. Your next objective is to eliminate Ray’s henchmen (marked as red targets on your radar). Once they’re dead, Johnny calls Jim and asks him to meet him. Drive to Northwood.
21. Was it Worth it?
Ray Boccino is pretty upset and wants his money back. He takes Johnny to the cellar, where Jim is being tortured by Ray’s man. Jim hasn’t said a word and neither has Johnny. When talking to Ray, Jim manages to cut the rope and take Ray’s guy as a hostage (and cuts his throat).

Johnny and Jim are free to run now. Hop on the bike outside and drive to the yellow marker on your map. Ashley calls you to warn you of Ray’s killers being sent after you (they drive the cars). You can either call Clay&Terry, or handle this on your own. Your call. Should you choose the latter option, I recommend hiding in the alley near Ashley’s apartment. The attackers have no chance of surrounding you and you can kill them there much easier. If you choose Clay and Terry’s help instead, you have to get to them and wait for the attackers to arrive.


Once this task is done, pay Ashley a visit in a club. Jim’s dead and Ray is no longer a problem. Billy’s the problem. Ashley suggests talking to Congressman Stubbs, who might be able to help.
22. Get Lost
Johnny meets the congressman in the clubhouse. Stubbs tells him about Billy’s plan to pass the buck on Johnny and Angus. He suggests killing Bill(y).
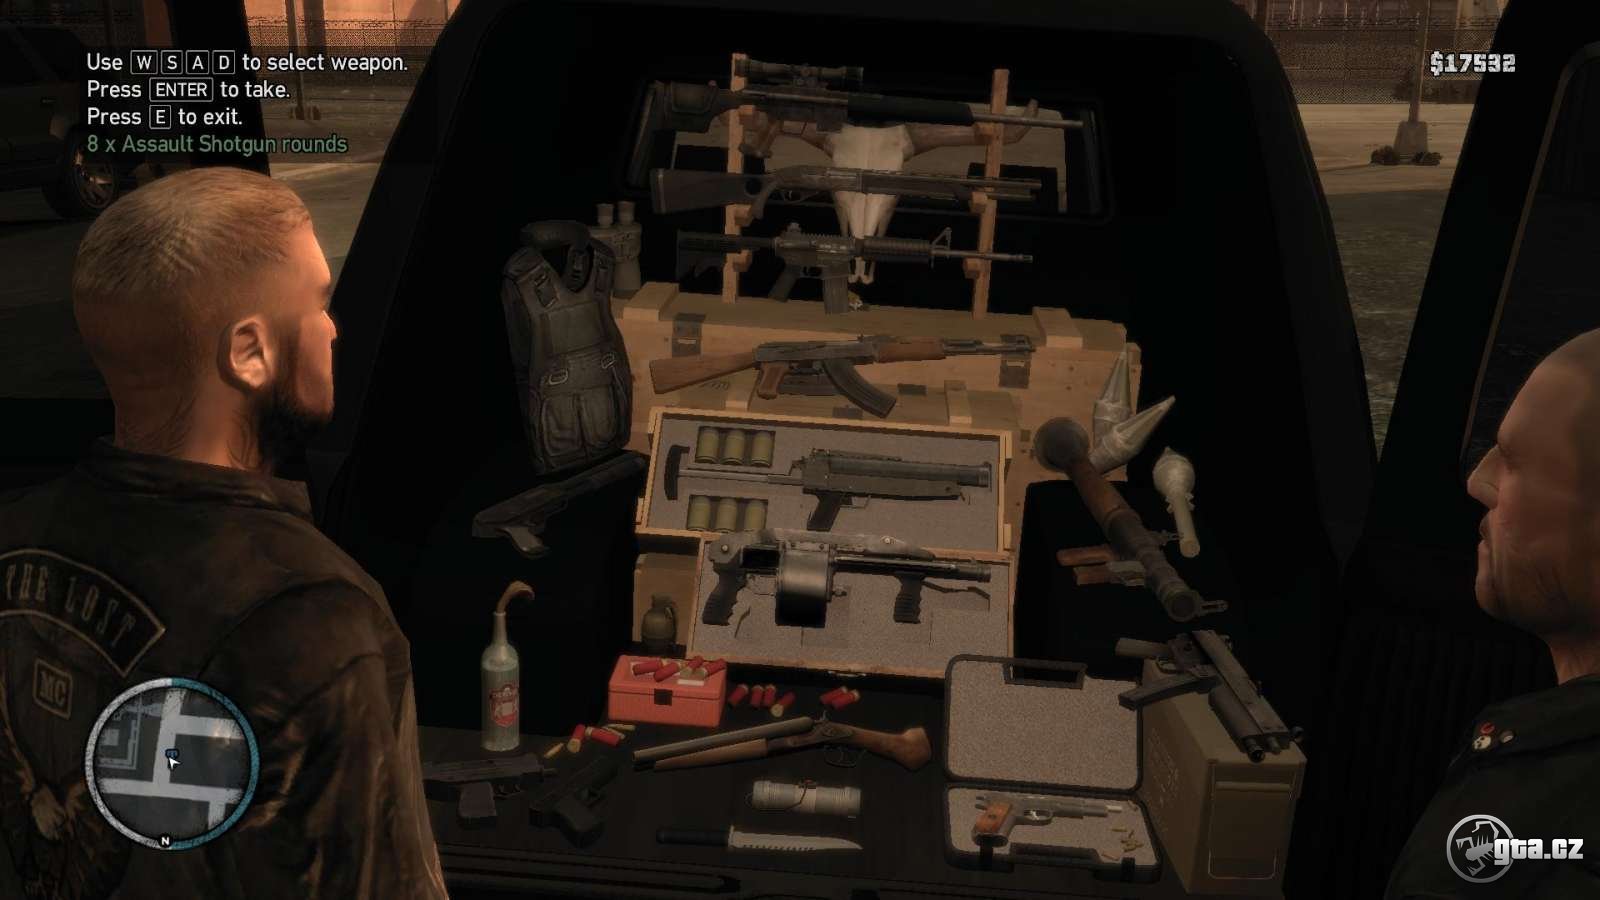
Head to the prison. Johnny asks Terry to help him with one last job. Meet Terry to get some weapons. They’re free, so do not hesitate to take everything there is and make sure you have the armor and the RPG.
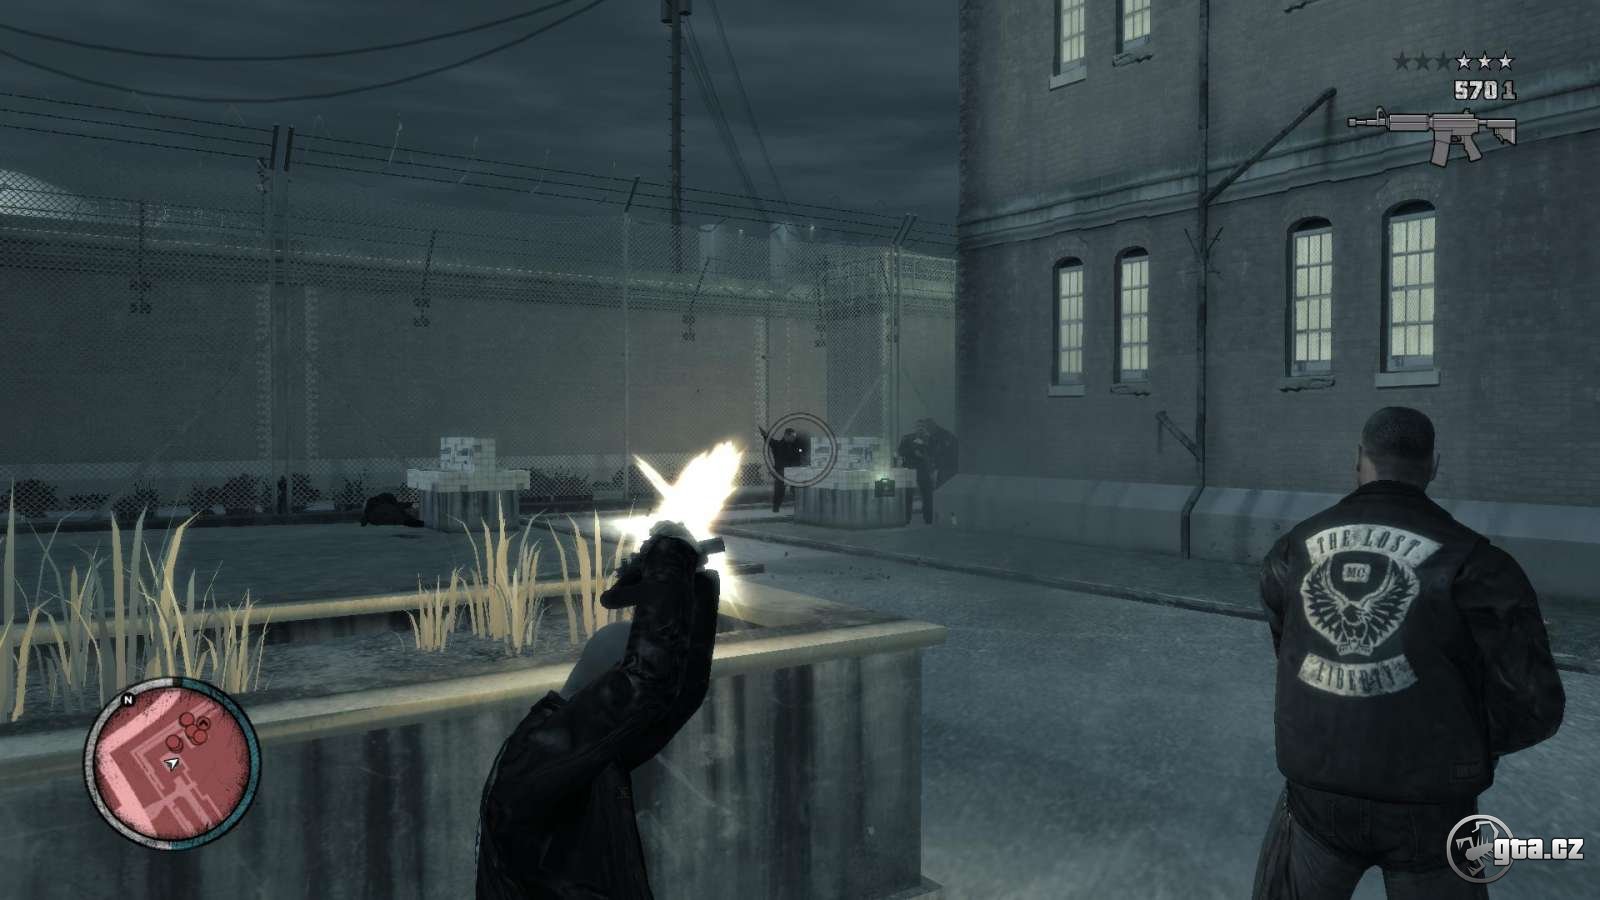
Use the RPG to break inside the gate, but make sure you kill the guards at the prison walls. Terry and Clay start shooting inside. Hide behind the laundry box and kill the oncoming wardens. Proceed to the left and kill the others ones. Use the cover to eliminate any resistance and follow the alley. Use the cover again and kill the sniper on the roof in front of you. There will be more wardens coming soon. Proceed along the fence and turn right.
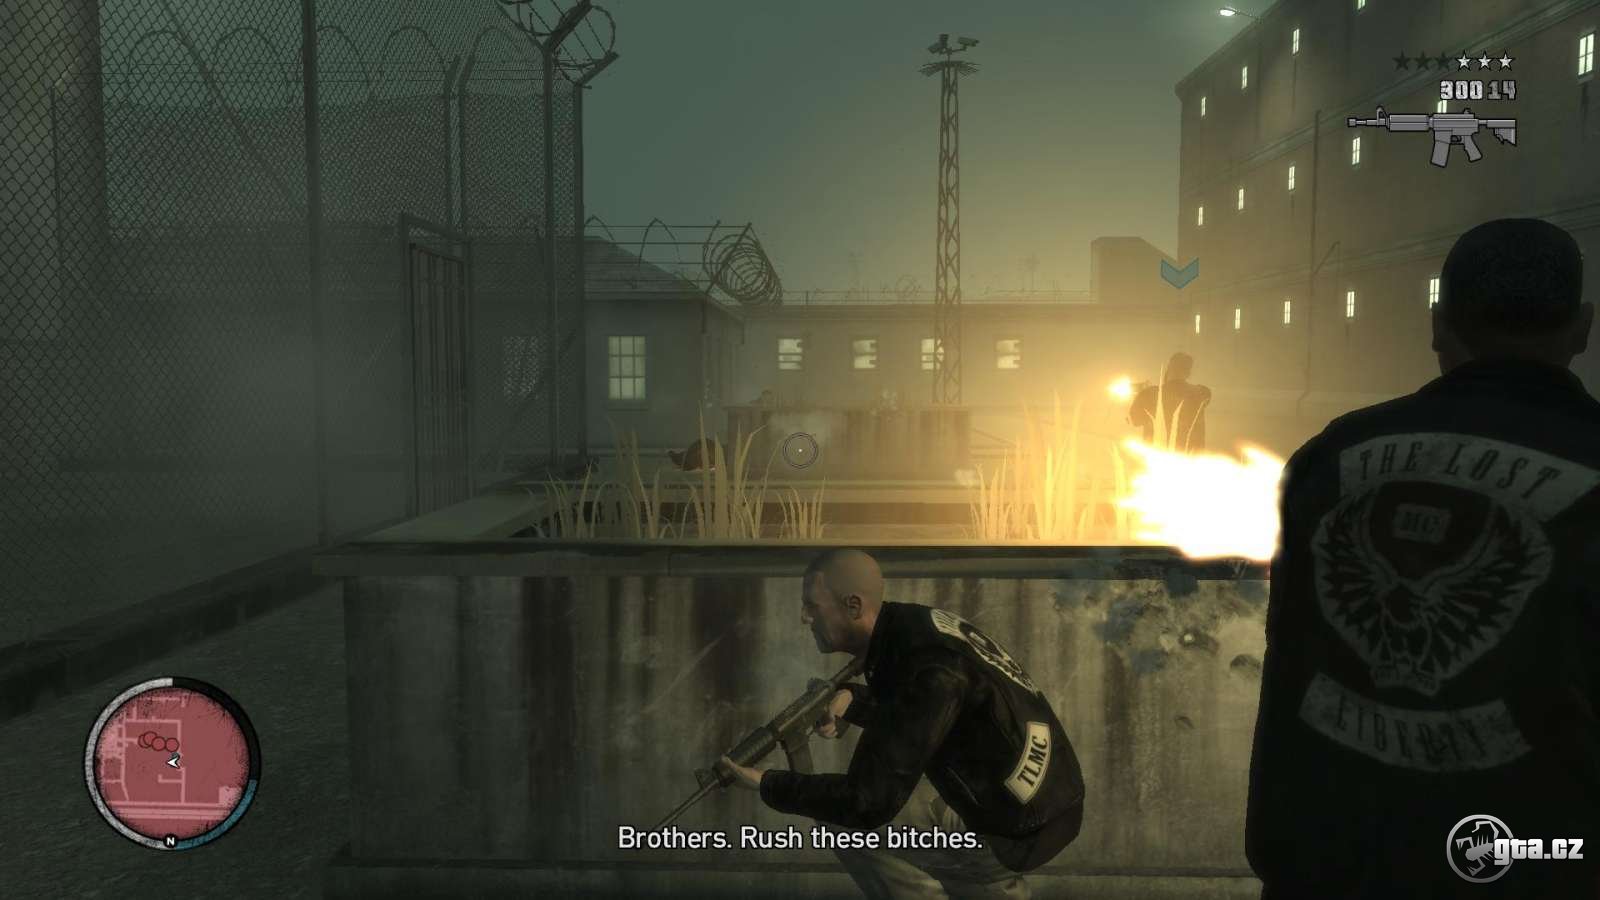
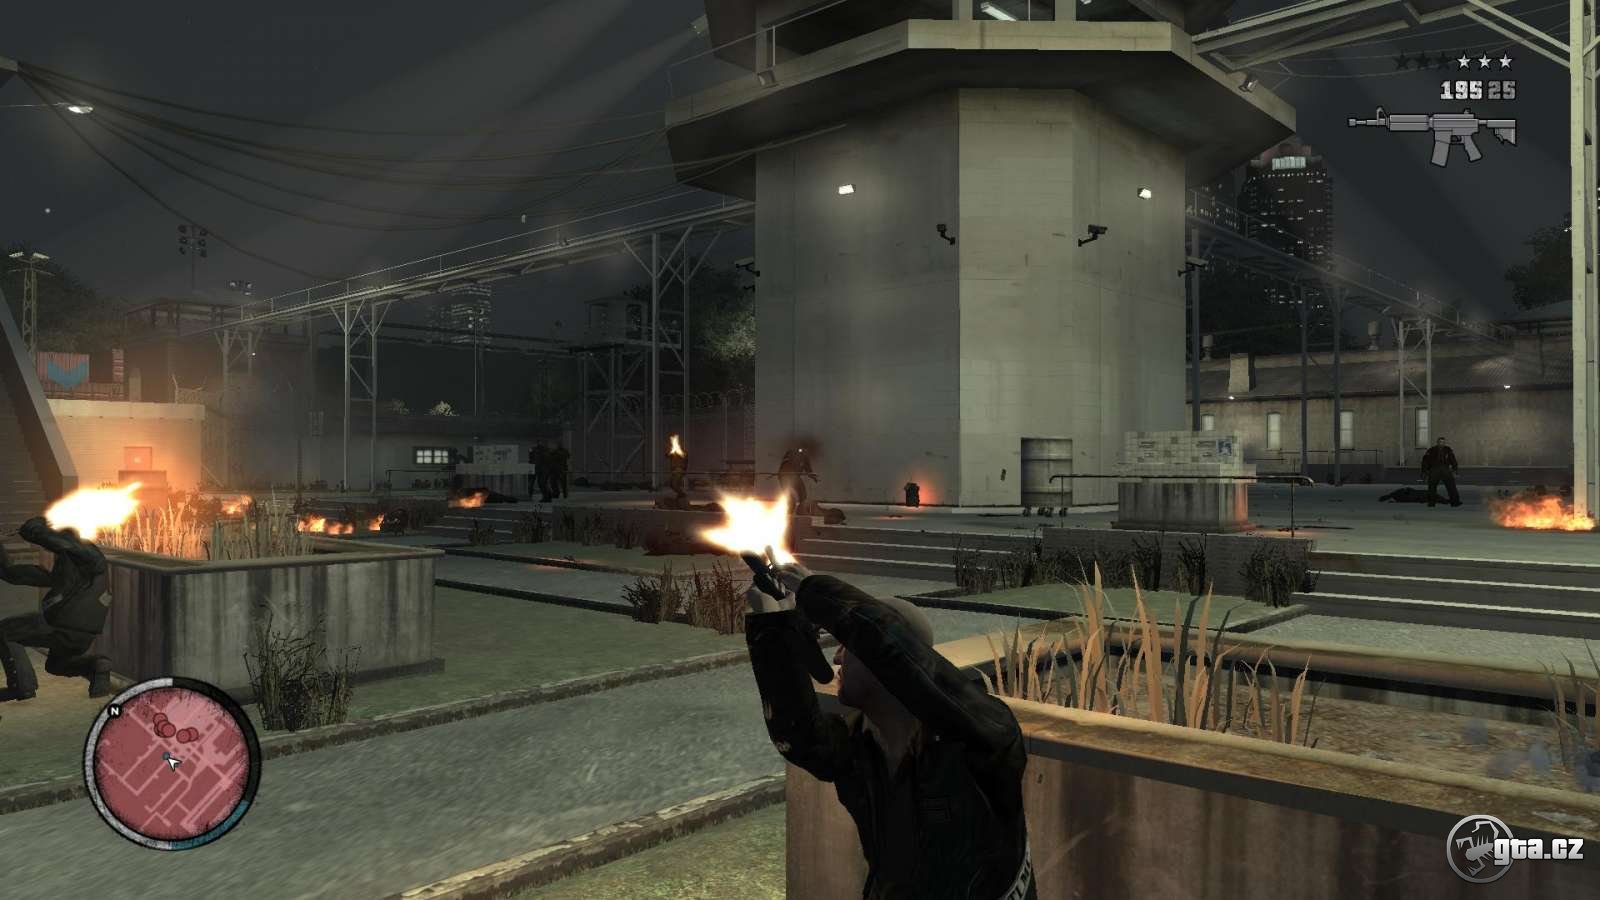
Long story short – use cover wherever possible. Once you get to the entrance marked with the yellow sign, two police choppers (and plenty of SWAT units) arrive. There are a lot of them, but RPG and your weaponry should keep you fine. Use grenades, pipe bombs, anything. Eliminate the secondary reinforcements and proceed to the right. ¬There’s a small round entrance with Billy waiting (red blip on the map). Terry and Clay keep other guards busy in a meantime.


Draw the gun and kill Billy. Then head back to Terry and Clay, get on the bike and drive away. Beware of the guards standing around. Lead your gang back to the clubhouse. The final cutscene starts then.
"Brothers for life, Lost forever."